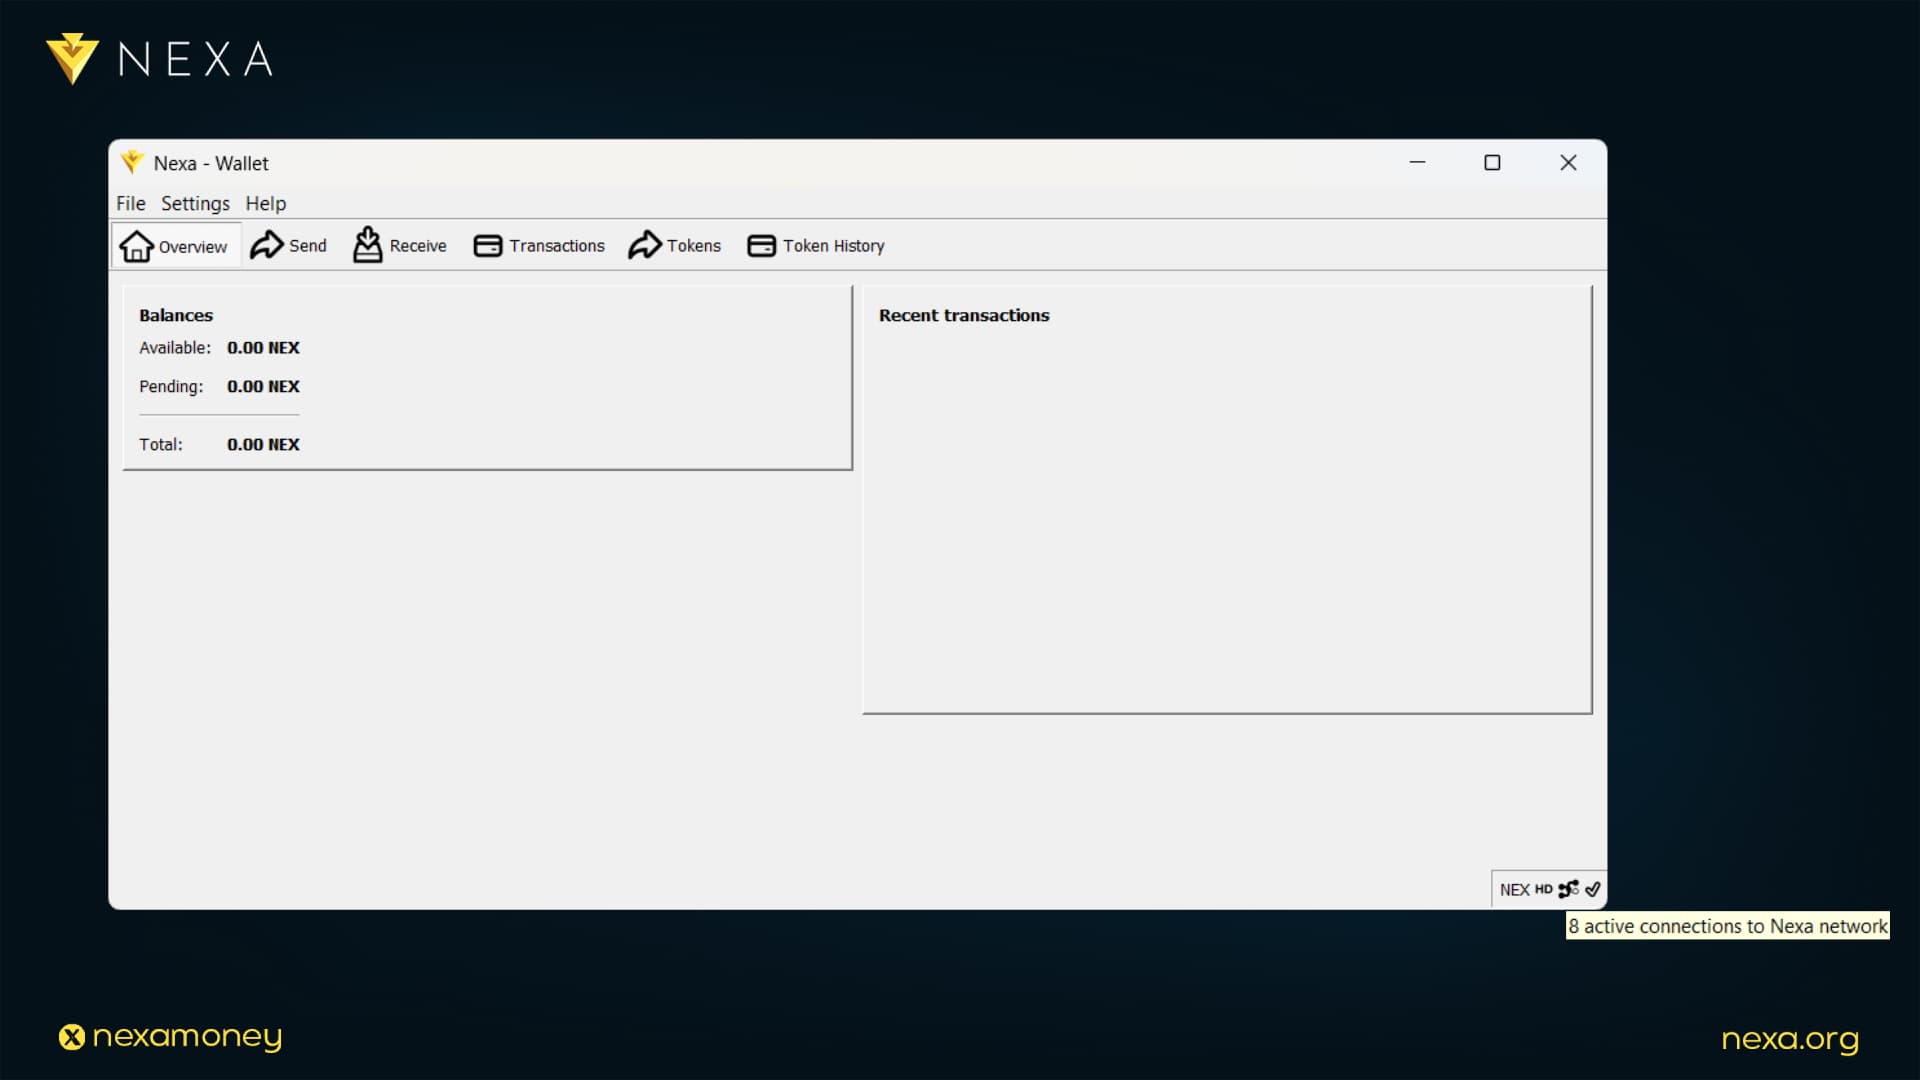
Nexa Full-Node QT Wallet grants users full control over their interaction with the blockchain by providing a direct, trustless connection to the network. This autonomy is fundamental to the philosophy of decentralized systems. However, following the recent upgrade to Full-Node version 2.0.0.0, some users may experience difficulty establishing new connections or peers. This guide outlines how to manually add peers to ensure stable connectivity.
Why Add Peers Manually?
Under normal conditions, the wallet automatically discovers and connects to network peers. However, due to factors like a slow internet connection or temporary network issues, the wallet may struggle to find peers promptly. Fortunately, users can manually add peers using either the console or configuration file.
Method 1: Add Peers via Console
Step 1: Open the Console
-
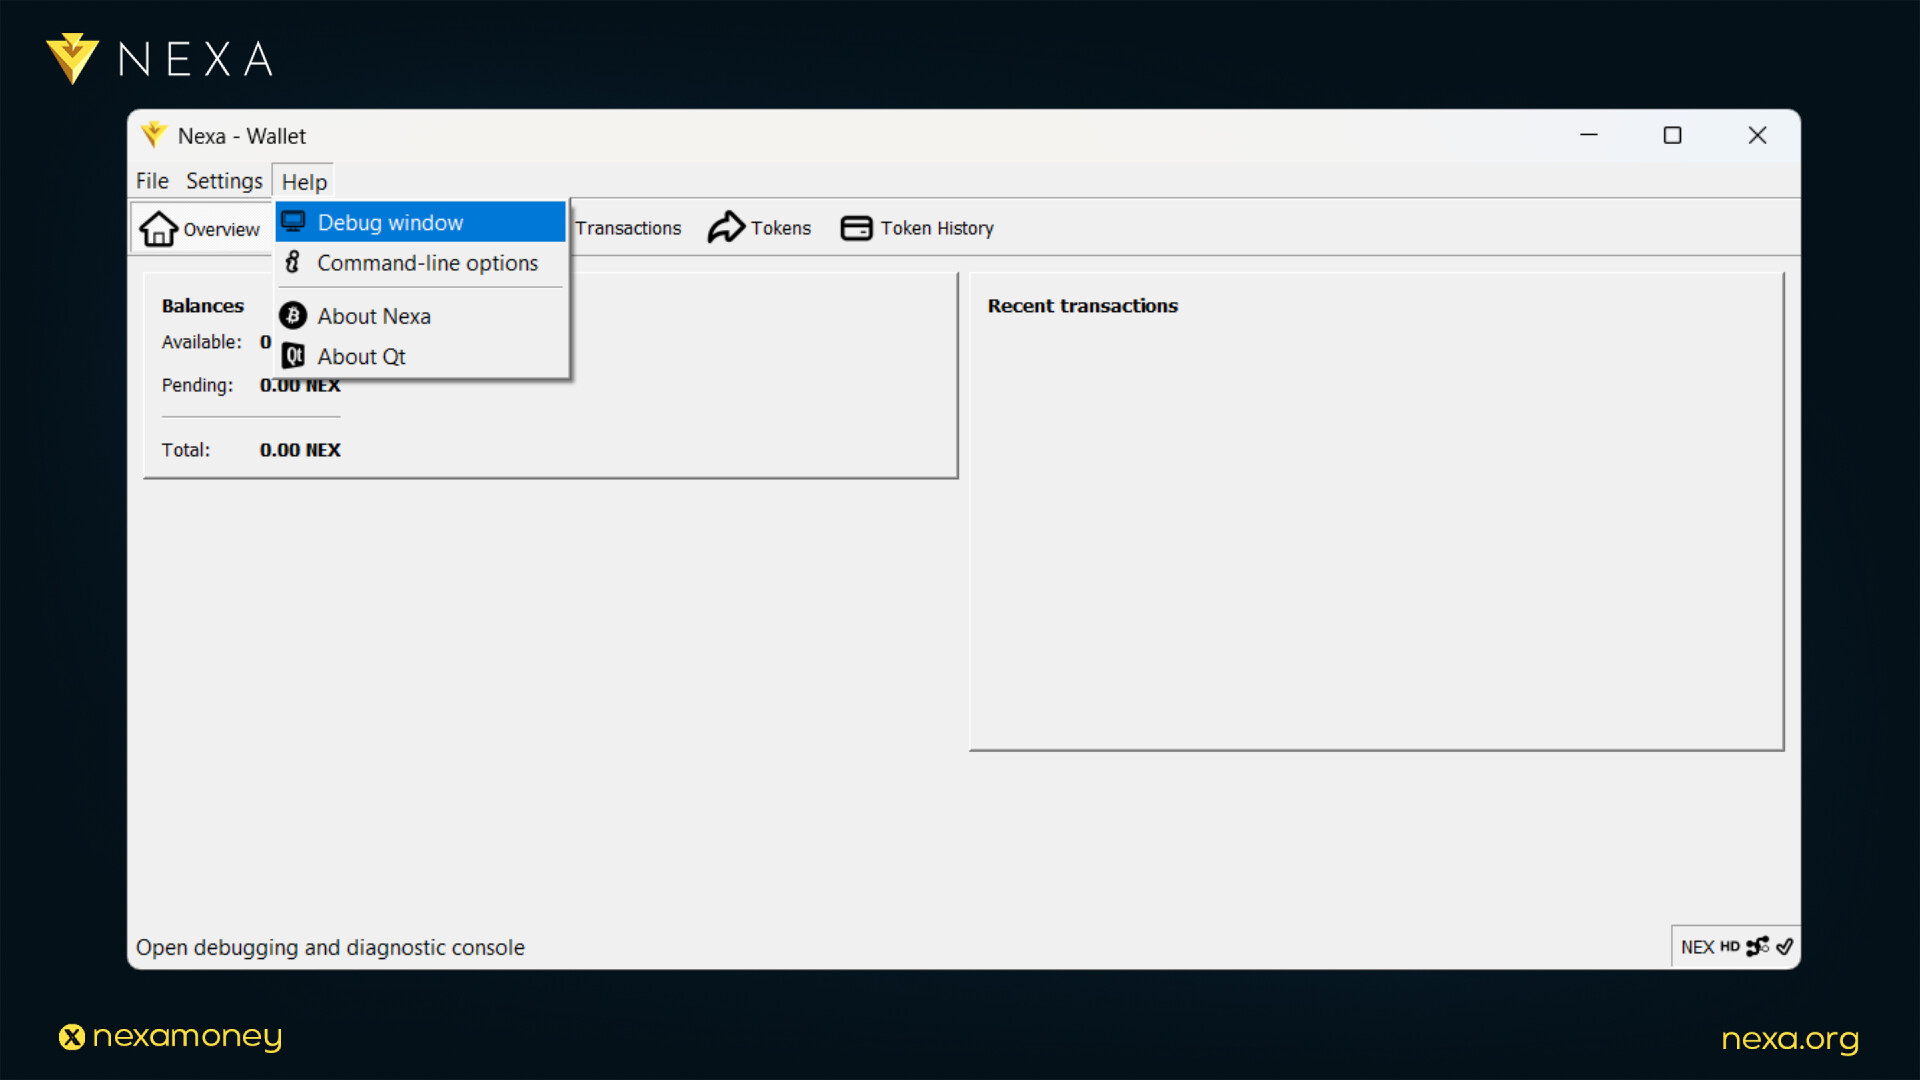
Launch the Nexa Full-Node QT Wallet.
-
Navigate to:
- Top Menu → Help → Debug Window → Console
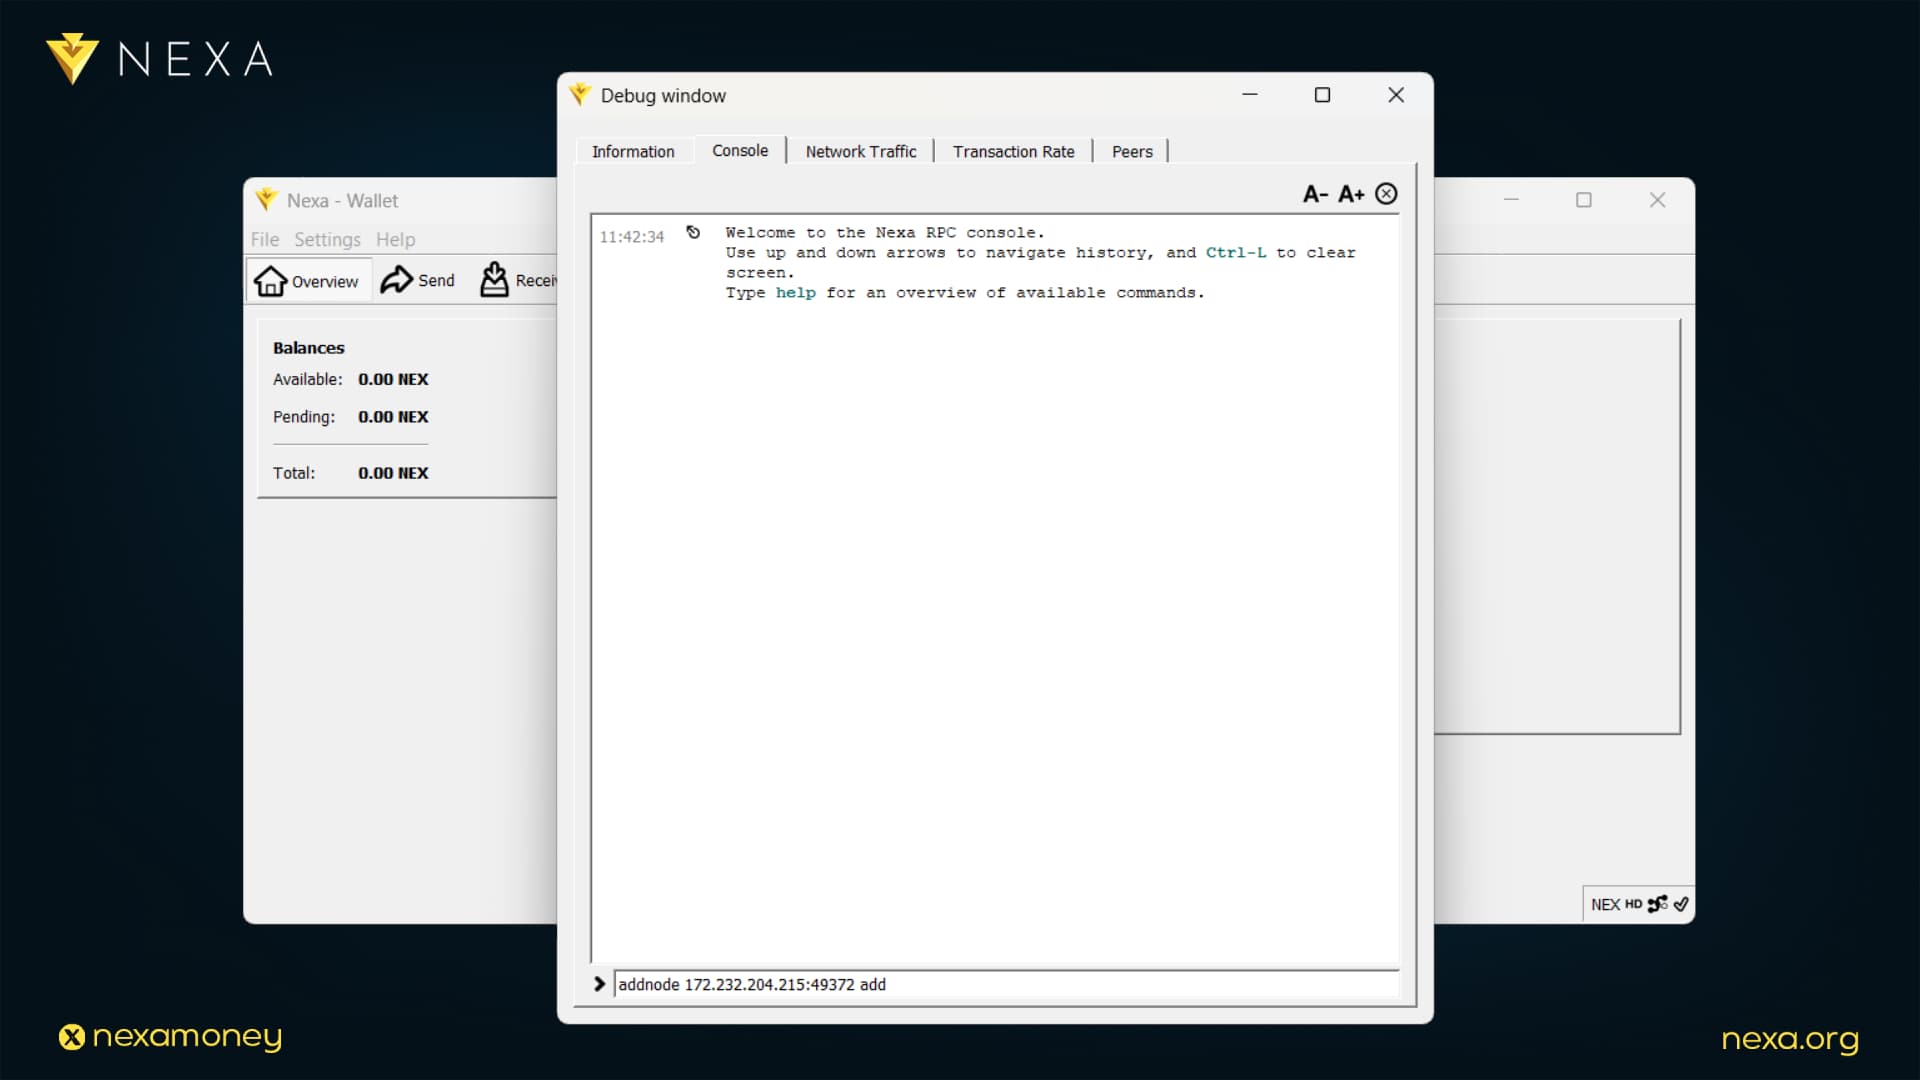
You should see a welcome message:
“Welcome to the Nexa RPC console. Use up and down arrows to navigate history, and Ctrl-L to clear screen. Type help for an overview of available commands.”
Step 2: Add a Node
To manually add a peer, type the following command into the console:
addnode 172.232.204.215:49372 add
Press Enter to execute. This will add the node with IP address 172.232.204.215 and port 49372 to your active peer list.
You can find additional peers at:
https://explorer.nexa.org/peers/
Repeat the addnode command with other IP addresses as needed. Adding a few reliable peers is typically sufficient.
Method 2: Add Peers via Configuration File
You can also configure your wallet to automatically connect to specific peers at startup.
Step 1: Locate the Configuration File
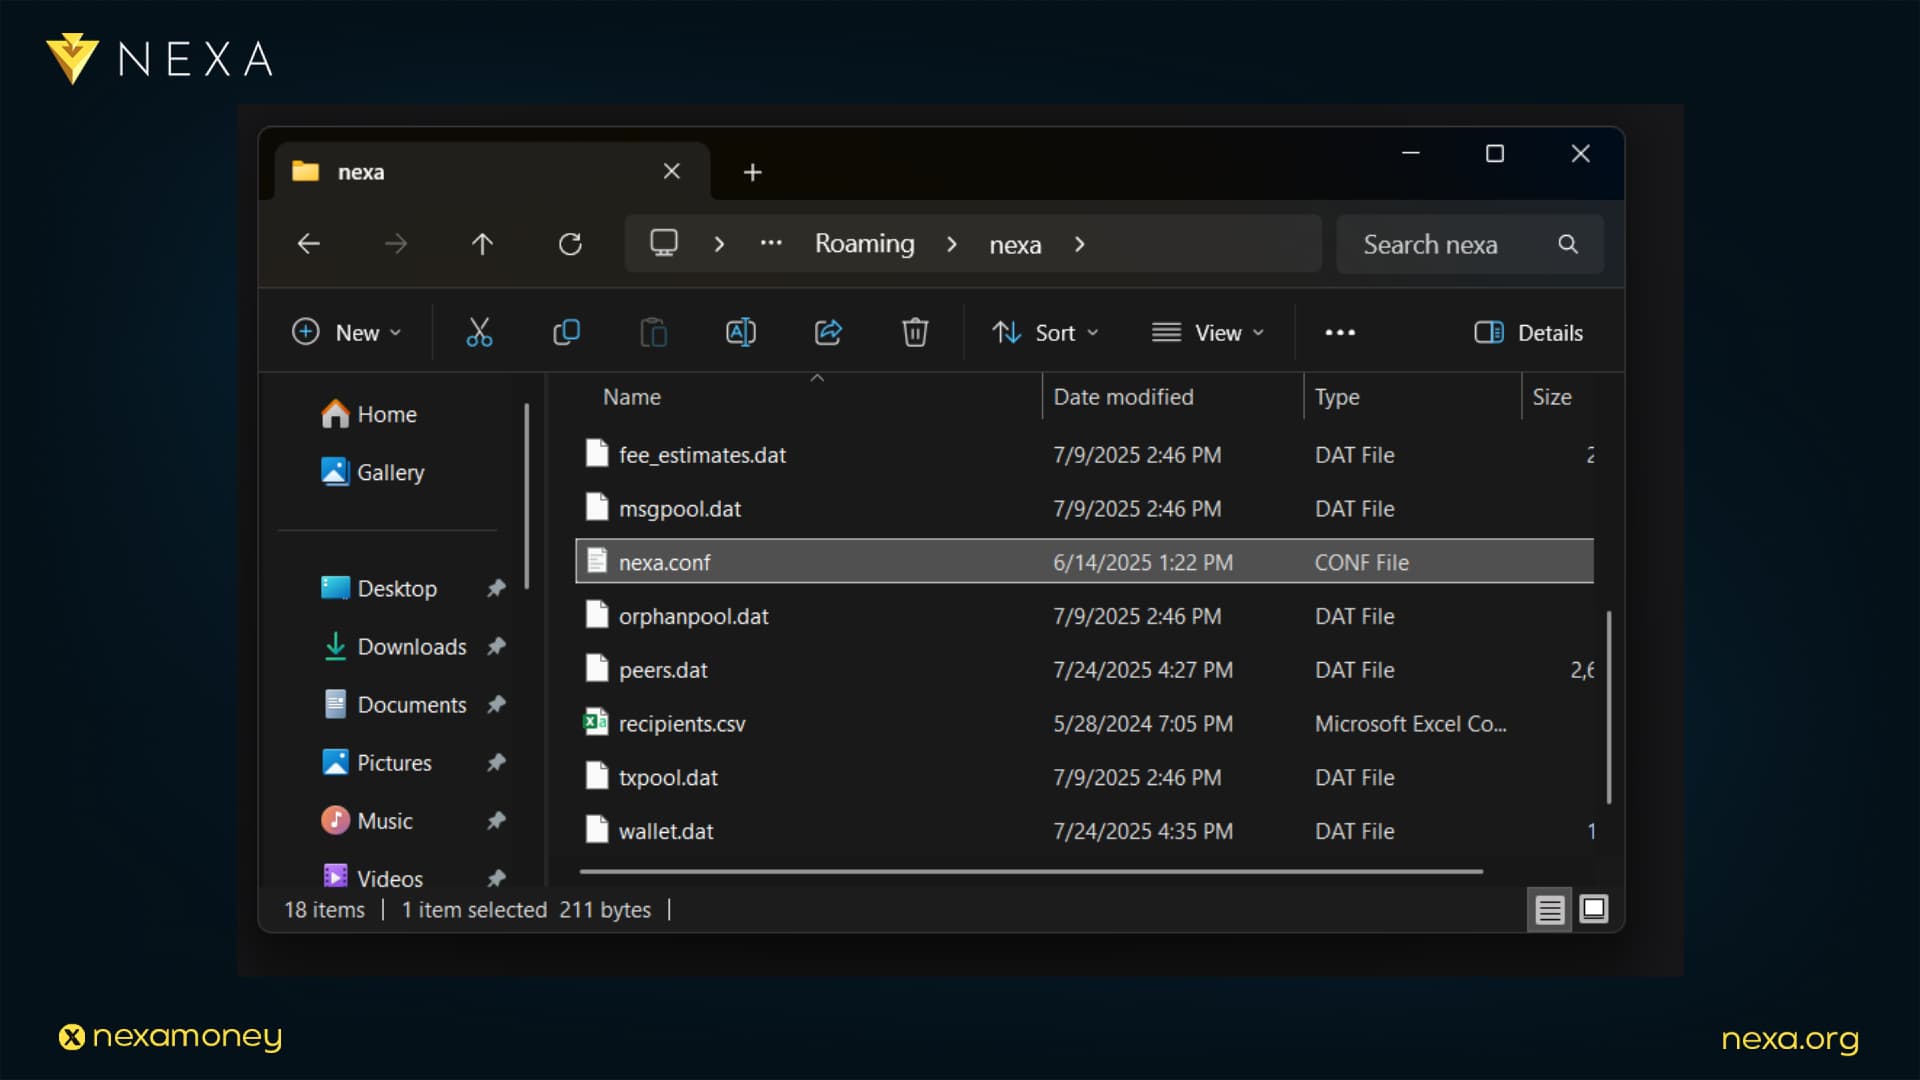
On Windows, the configuration file is located at:
C:\Users\YourUsername\AppData\Roaming\nexa\nexa.conf
Replace YourUsername with your actual Windows username.
Step 2: Edit the File
Open the nexa.conf file with a text editor such as Notepad, Visual Studio Code, or similar.
At the top of the file, you should see:
## NEXA run-time configuration settings.
## Use GUI->Help->command-line options or spec.nexa.org for available settings.
Below this, you can begin adding your peer nodes:
addnode=172.232.204.215:49372
addnode=139.162.253.213:7228
addnode=54.232.77.41:7228
addnode=45.79.142.25:46752
addnode=207.154.205.96:56028
addnode=139.162.252.62:38422
addnode=172.104.135.54:42730
addnode=45.79.189.157:57692
You can find up-to-date, active nodes on the Nexa Explorer:
https://explorer.nexa.org/peers/
Save the file after editing.

It’s important to note that every time you launch the wallet, it will attempt to connect to the peers listed in your nexa.conf file. However, because peer IP addresses can change over time, you should occasionally verify that the nodes you’ve added are still active. If your wallet experiences connectivity issues, it may be due to inactive or outdated nodes. In such cases, simply visit the Nexa Explorer at https://explorer.nexa.org/peers/ to find fresh, active IP addresses and update your configuration accordingly.
Final Thoughts
Congratulations! You now understand how to manually add peers to the Nexa Full-Node QT Wallet through both the console and configuration file. This empowers you to maintain consistent connectivity, troubleshoot network issues, and fully leverage the capabilities of a decentralized node. You’re one step closer to mastering full-node wallet operations and participating in the Nexa network at its core.