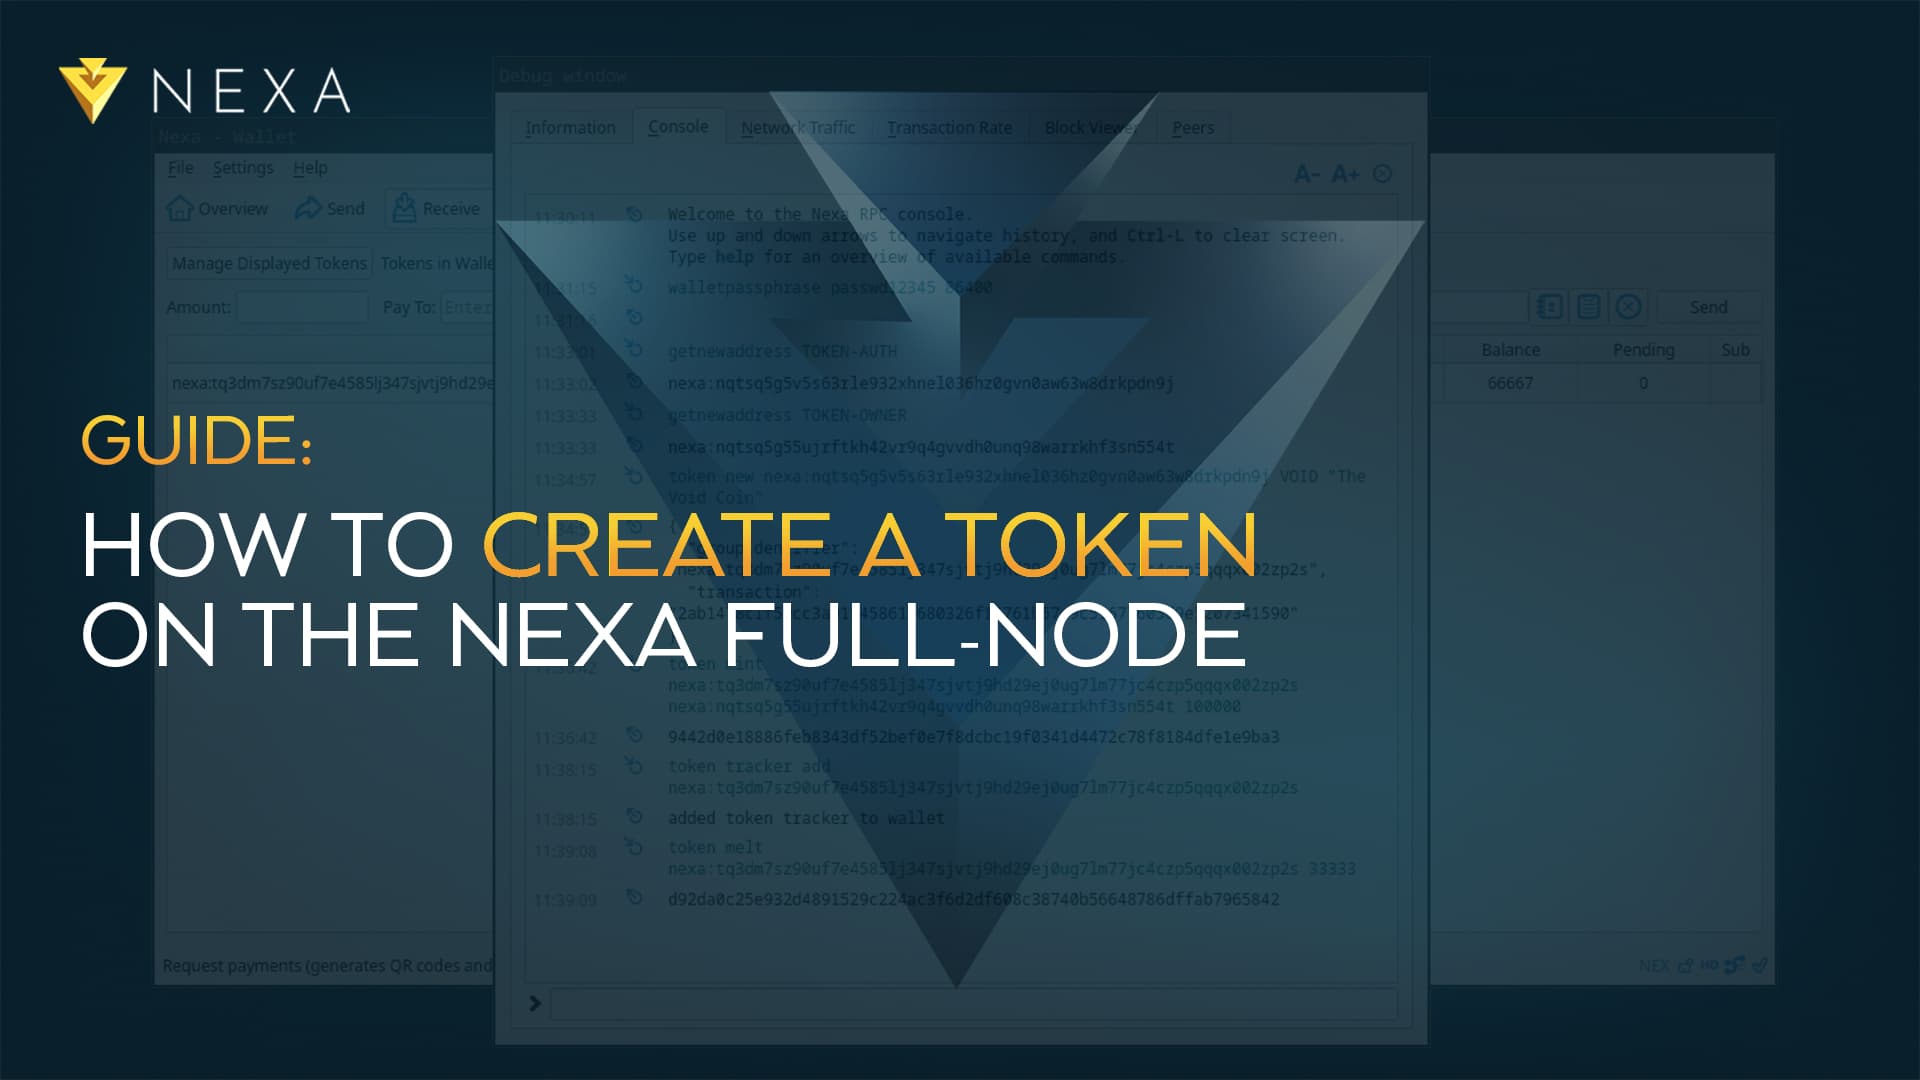
The Nexa Full Node QT Wallet is a powerful and decentralized tool, it can manage your tokens too. You can create a token in just two simple steps, but this guide walks you through creating (genesis), minting, and melting a Nexa token using the Full-Node wallet’s built-in console. Everything here also works with nexa-cli from a terminal.
To Get Started
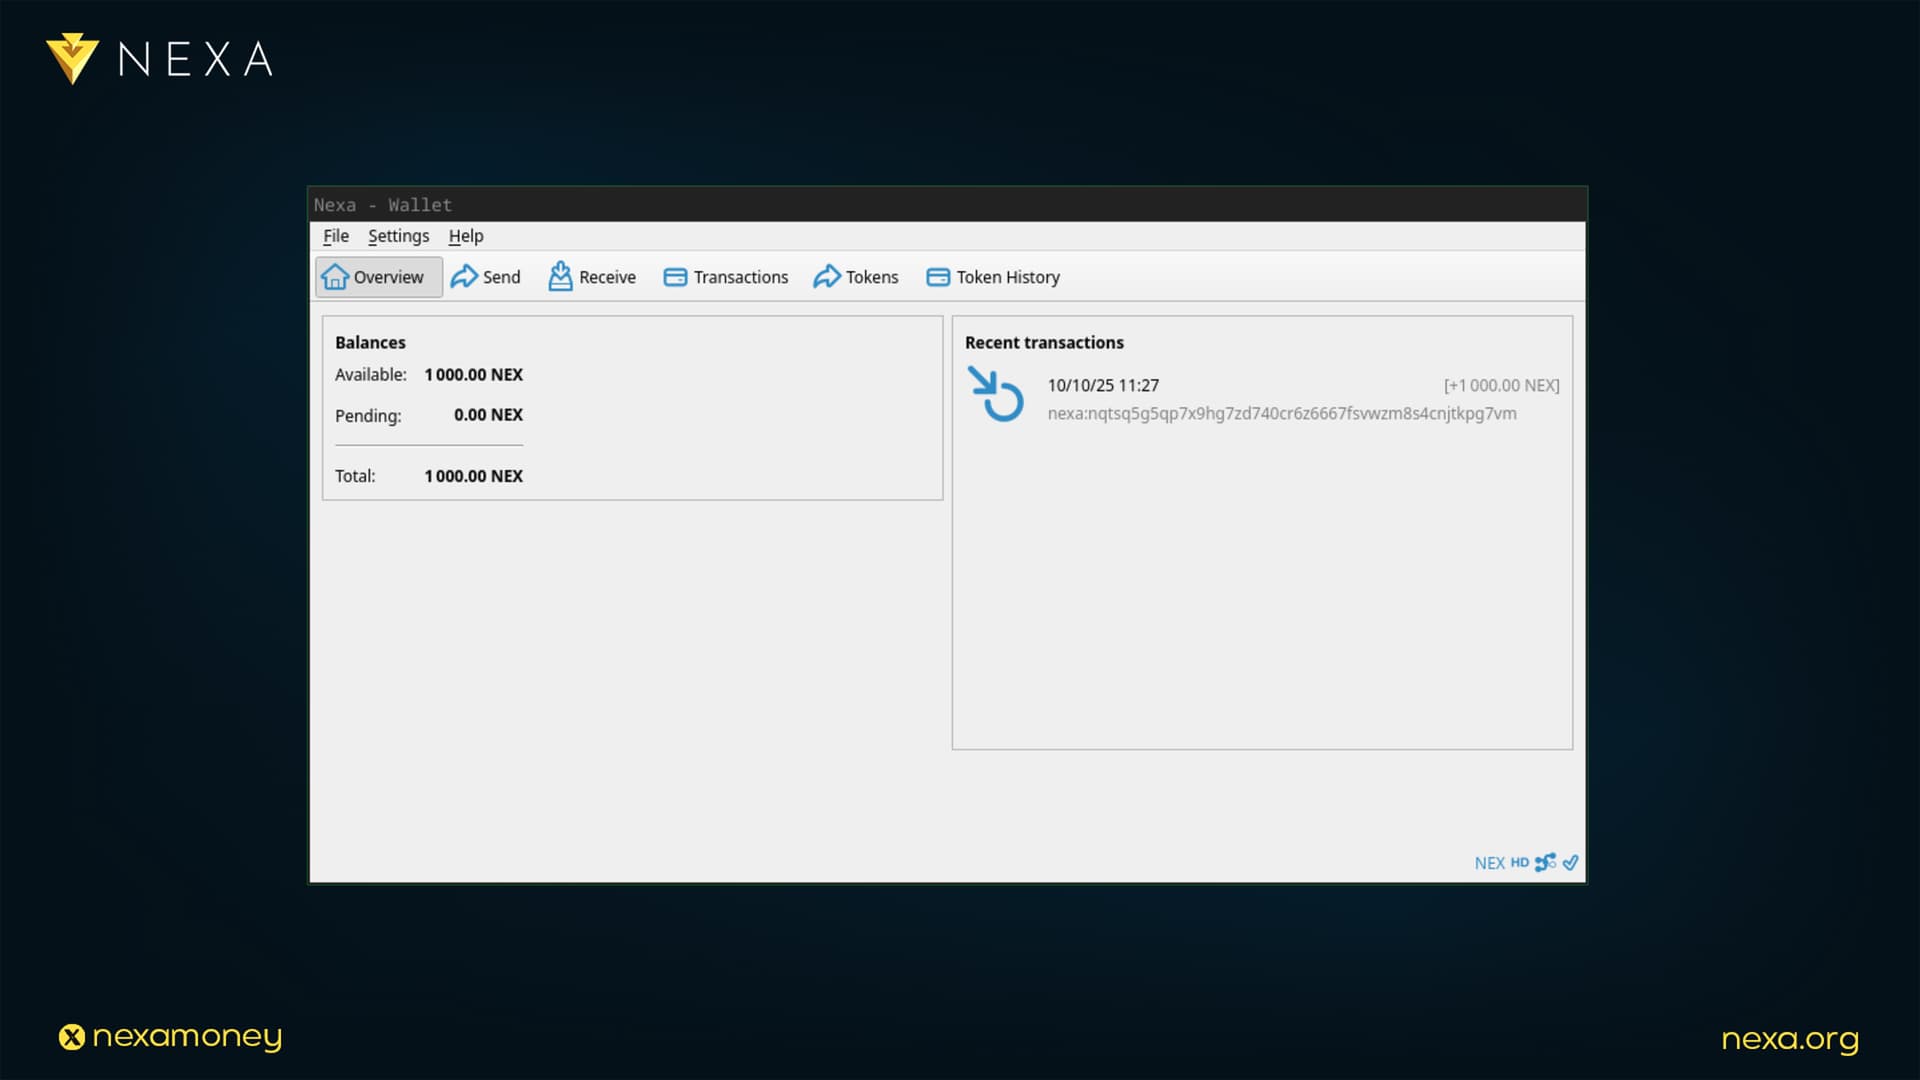
Before you can create new tokens via Full Node, you need to prepare a few things. The first step is downloading and synchronizing the wallet, then topping it up with some NEXA for network fees, 1000 NEXA will be more than enough to create your first token.
-
Synced node: Let the wallet finish syncing before creating or sending anything.
-
A little NEXA for fees: Token ops cost normal tx fees paid in NEXA.
-
Encrypted wallet: If your wallet has a password, you must unlock it before creating or minting.
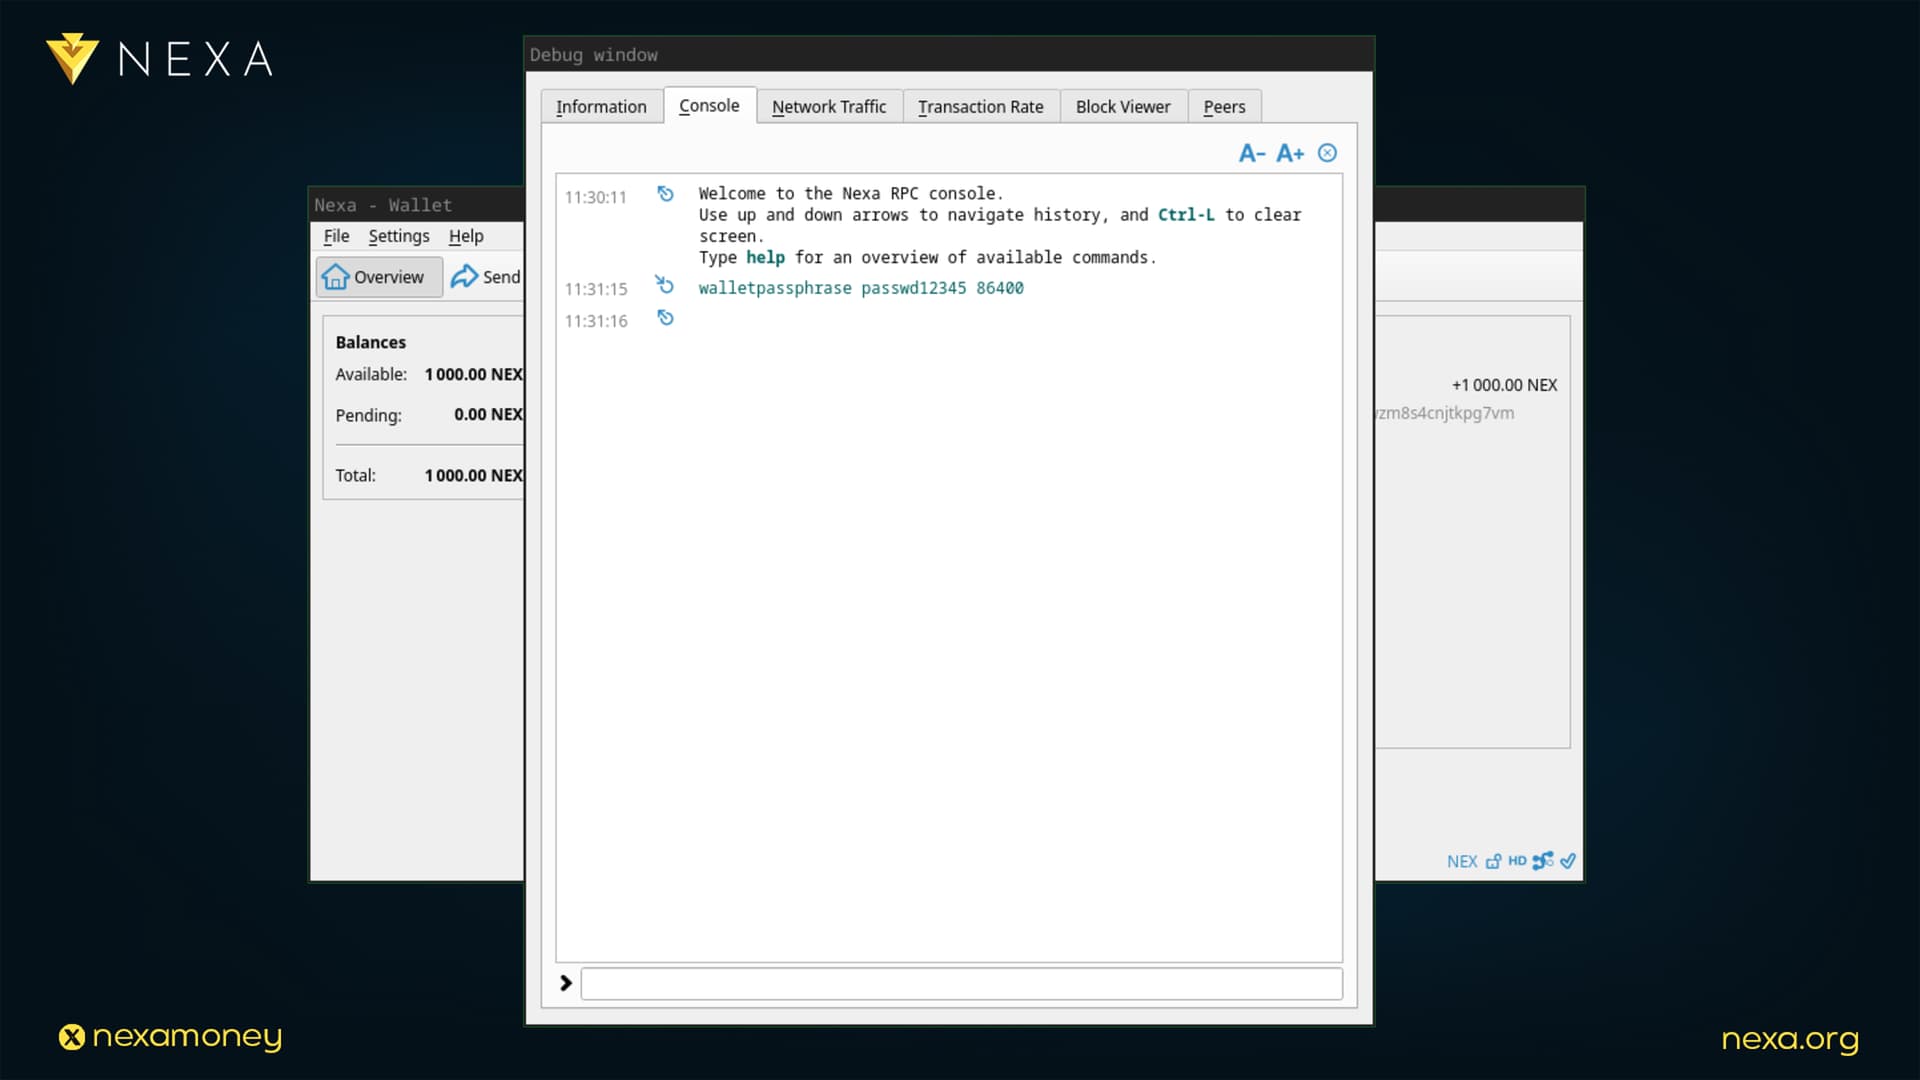
Unlock Your Wallet in a Console
If your wallet is locked, token commands will fail with (code -13). Start by opening the console and unlocking your wallet if it’s locked.
Full Node QT → Help → Debug window → Console
Once you’re in the console, type this command with your password in the middle:
walletpassphrase passwd12345 86400
-
86400 is seconds (24h). Pick any timeout you’re comfortable with.
-
You can re‑lock later with walletlock.
Never paste your passphrase anywhere outside the wallet, and don’t reuse the same password across different applications. The maximum time frame for unlocking the wallet is 24 hours (86400 seconds); if you enter a higher number, the command will fail.
1) Token Authentificator and Owner Address
Token-Auth will hold the token authority and minting/melting rights. Token-Owner will be the token owner address, which can also receive tokens.
Type these two commands in a console:
getnewaddress TOKEN-AUTH
getnewaddress TOKEN-OWNER
You will get a Nexa:address after each command. Store these safely, the authenticator address will be used later to interact with the blockchain.

Optional Token Metadata
This step is optional and can be skipped entirely. However, if you want to add metadata such as a description or token image, do it now, you won’t be able to add or change metadata later. This is a one-time process during token creation.
Example token.json:
{
“ticker”: “VOID”,
“name”: “The Void Coin”,
“summary”: “This is the Void Coin.”,
“icon”: “https://example.com/icon.svg”
}
Compute its SHA‑256 (exact bytes, no extra spaces/newline):
-
Linux/macOS: sha256sum token.json (or shasum -a 256 token.json)
-
Windows (PowerShell): Get-FileHash token.json -Algorithm SHA256
Host the file (e.g., on your website); you’ll need its URL and hash in Step 4. Decimals only affect how amounts are displayed, RPCs and balances use integers in the smallest unit.
You can find a guide on verifying and proving your token metadata here.
2) Create Your Token
Now you’re ready to create your token on the Nexa blockchain. This process is straightforward, you just need a token ticker and token name. As mentioned, metadata is optional.
Below is a command syntax for the console with a couple of examples.
token new <AUTH_ADDR> token-ticker token-name descUrl descHash decimals
Token creation without a metadata:
token new <AUTH_ADDR> VOID “The Void Coin”
Make sure to save your groupId, this is your token’s unique identifier. It can be tracked on the Nexa Explorer and added to your wallet to monitor your new token. Your token is now created and lives on the Nexa blockchain. Next, follow the steps below to mint and track your first tokens.

Mint Initial Supply
After minting your initial supply, you won’t need the console or command line anymore except for managing authorities and minting/melting tokens. You can still use the console as a powerful tool if you wish. Keep in mind that quantities are integers in the smallest unit. For example, if you plan to display 2 decimals and want 1,000.00 tokens, you must mint 100000 units. Example:
token mint <GROUP_ID> <RECV_ADDR> 100000
Check your balances:
token balance <GROUP_ID>
Send your tokens:
token send <GROUP_ID> 100000
After the next step, you won’t need the console anymore unless you’re managing authorities or minting/melting tokens. The user interface will fully handle token management once you add your groupId to track it.

Add Your Token to The Wallet
Once your token is created, you’ll want the wallet to show and track it. You can use either the user interface (UI) or the console to add your groupId to the token tracker. Example:
token tracker add <GROUP_ID>
You can also inspect your token in the console with token info . That’s it! After this step, your token will appear in the wallet.

Mint and Melt Tokens
By now, your tokens exist fully on the Nexa blockchain. They can’t be removed or managed by anyone else. Minting creates more tokens, and melting (burning) reduces the circulating supply.
token mint <GROUP_ID> <RECV_ADDR> 100000
token melt <GROUP_ID> 100000
To explore more commands in the console type:
help token
It’s really that simple to create and manage tokens on the Nexa blockchain. After finishing token management, make sure to lock your wallet again by typing the following command in the console:
walletlock
Your wallet is now fully locked. To repeat the process, simply unlock it again.

More To Come
The Nexa Full Node is a much more powerful tool than we’ve explored so far. For now, let’s keep it simple, more tutorials on managing your tokens, authorities, and other advanced features with the QT Wallet are coming too.