This is Part 2 of how to create a token via the Nexa full node. In this part, we’ll go one step further and make your token metadata verifiable and provable on-chain, following the official Nexa standard for metadata proof. This step is reviewed separately because it requires a server and the use of sha256sum in the command line, which involves more effort to verify your token’s originality.
Why Proof Matters
First, let’s find out why these proofs matter. When you create a token, you can optionally include a metadata file (token.json) that describes your token’s name, summary, icon, and anything else you want to include. Anyone can view that information, but how can wallets and explorers know that the file is authentic and truly belongs to your token?
That’s what this process solves. By committing the SHA-256 hash of your metadata on-chain and signing it with your genesis authority address, you make your metadata tamper-proof and verifiable by anyone. If someone tries to copy your token’s name or JSON file, the verification process will expose it immediately.
1) Create Your Token Description Document (TDD)
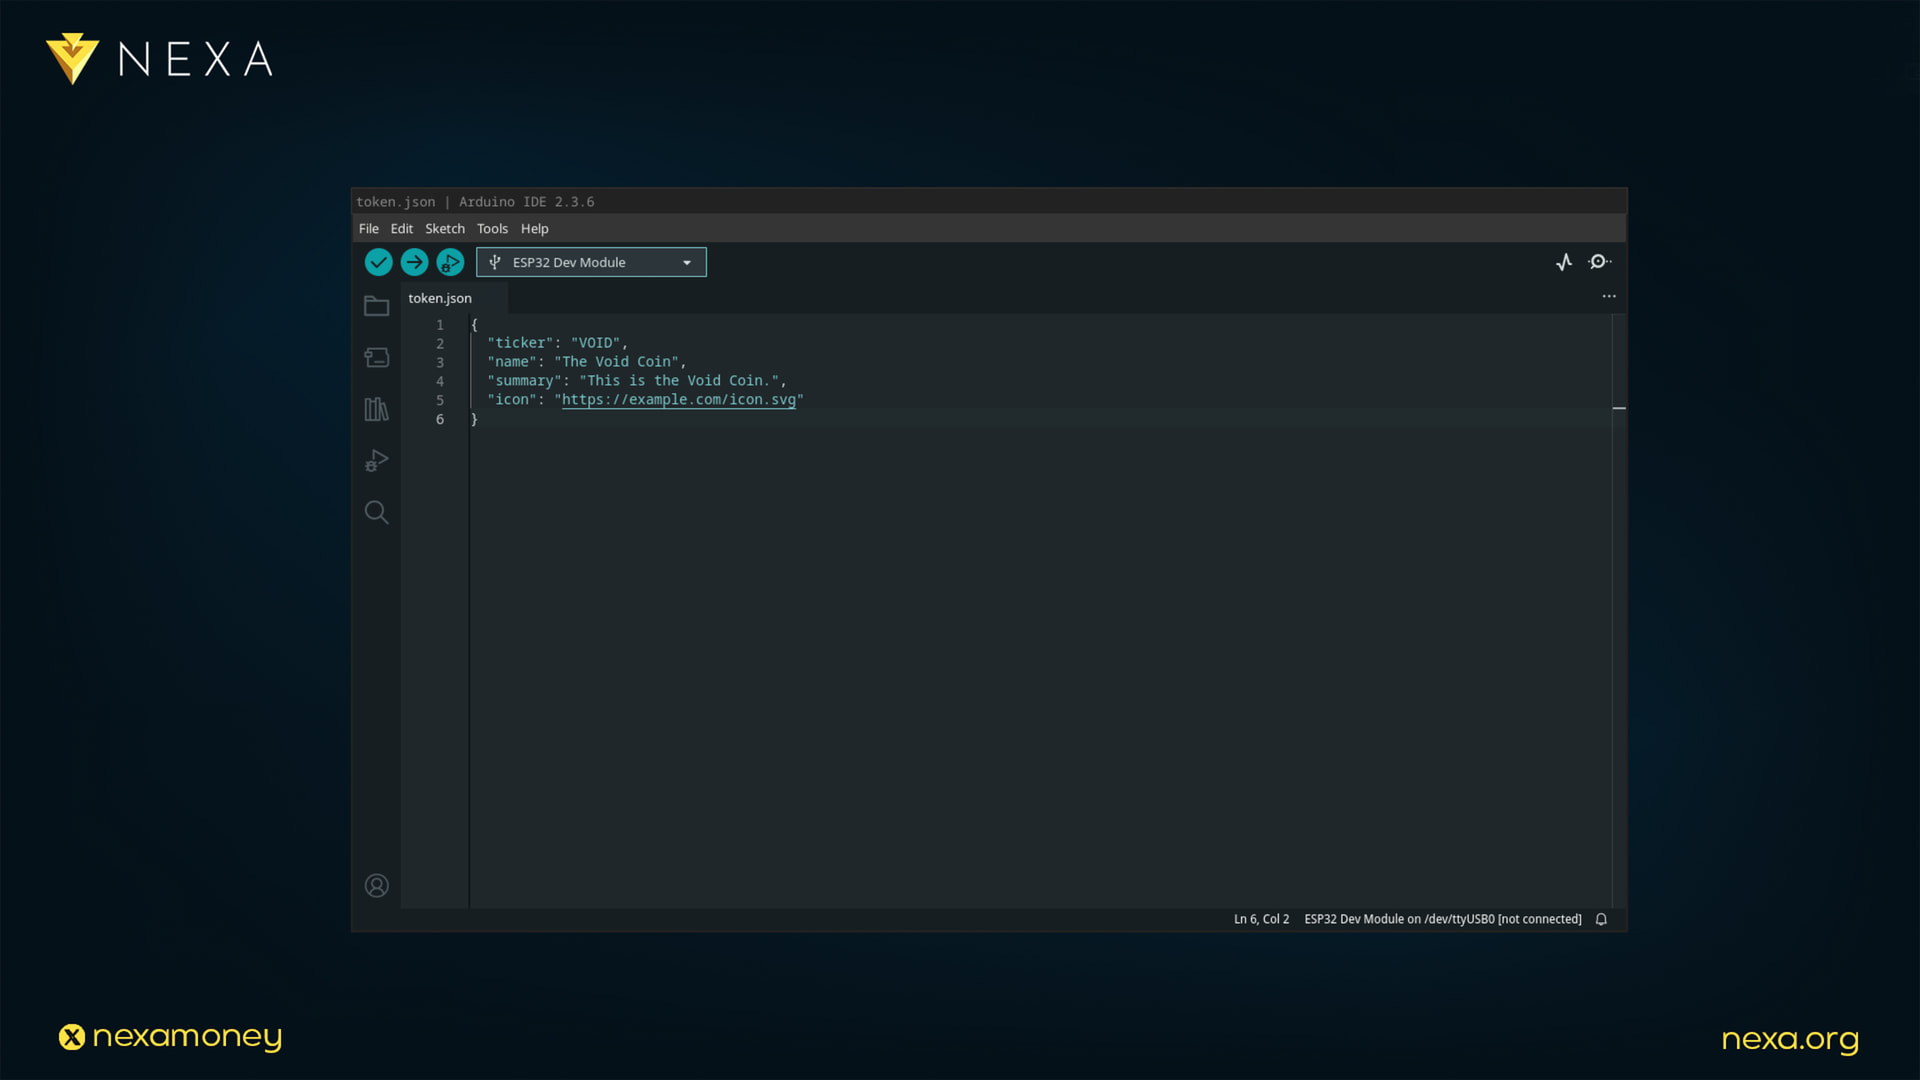
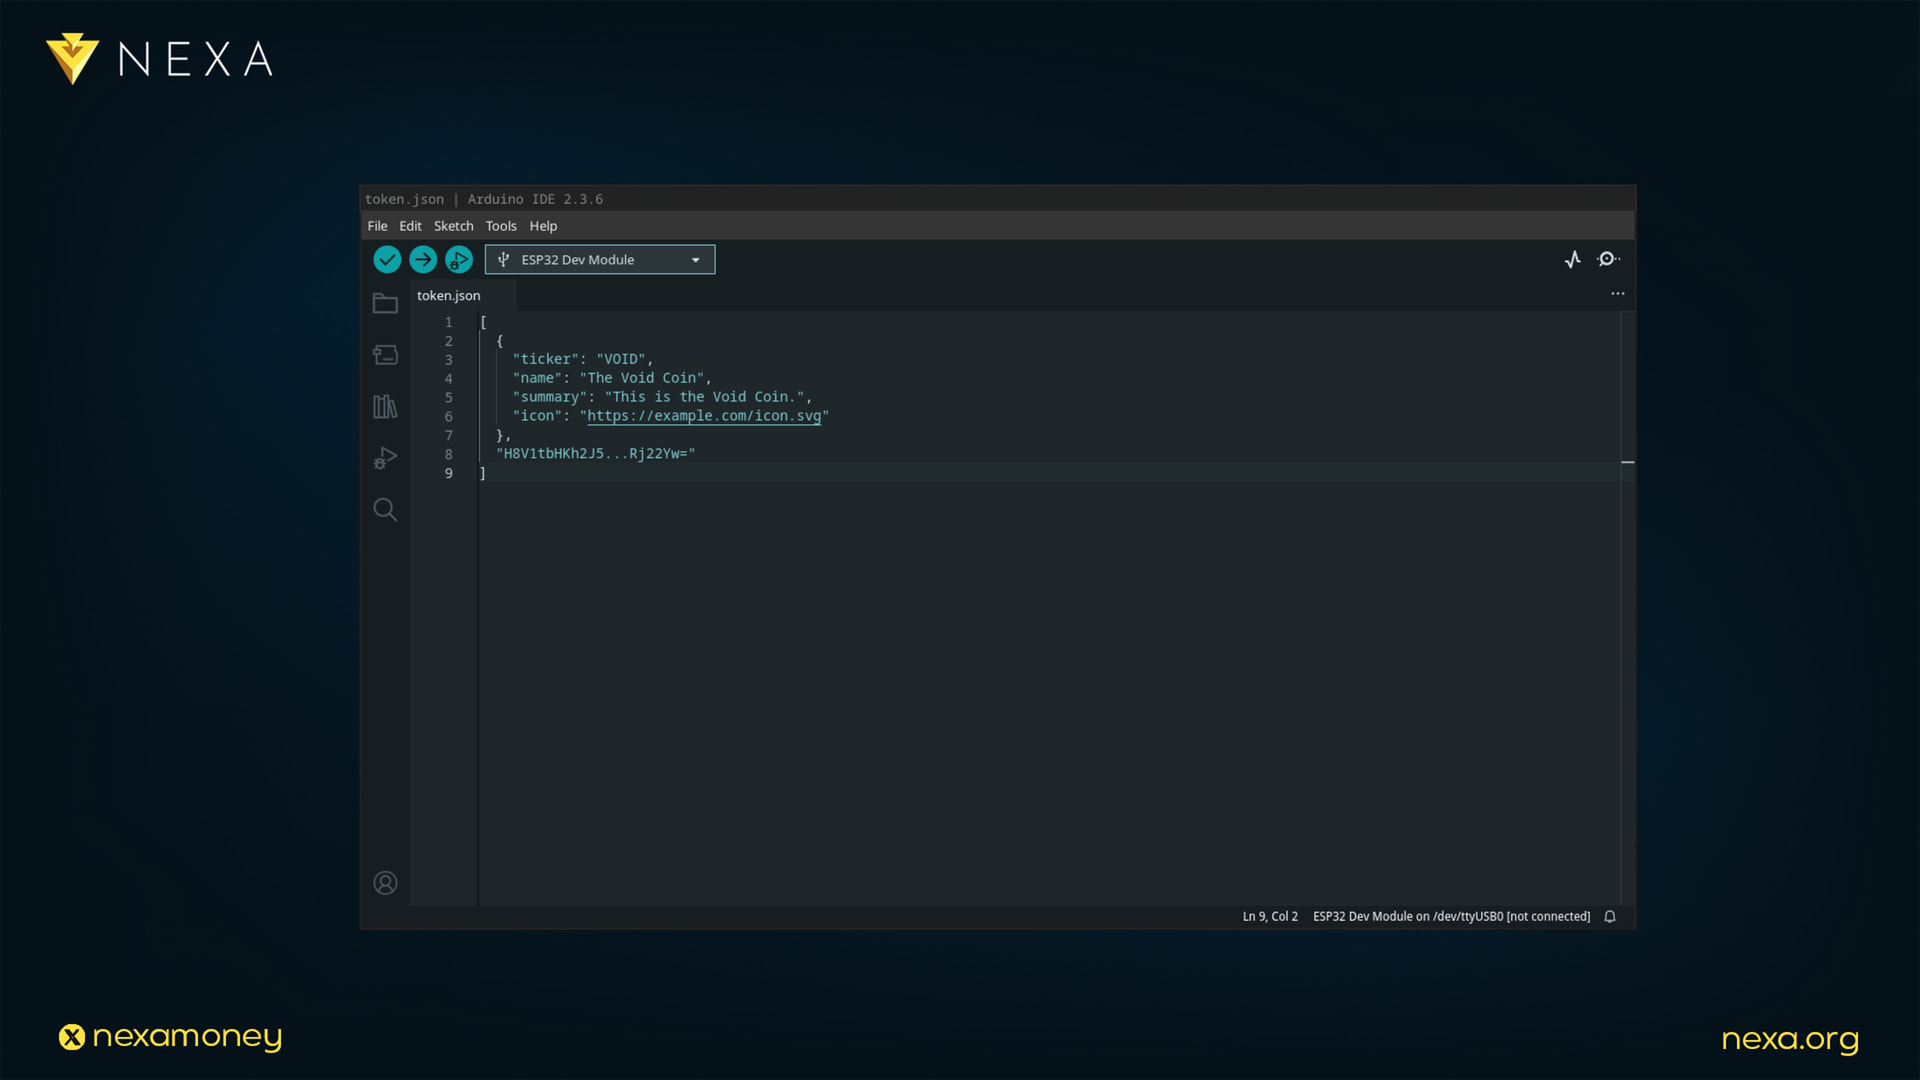
Before proving anything, you first need a small JSON file describing your token. Create a new file called token.json, and for convenience, you can follow the example below:
{
“ticker”: “VOID”,
“name”: “The Void Coin”,
“summary”: “This is the Void Coin.”,
“icon”: “https://example.com/icon.svg”
}
This JSON is called the Token Description Document (TDD). It contains the basic metadata that wallets and explorers can display. If you wish to use a token icon or image, make sure to upload it to your server and include its URL within the metadata.
Important formatting rules:
-
No extra spaces or newlines before or after the {} brackets.
-
Don’t re-serialize or “pretty print” the file after you hash it.
-
Save it exactly as UTF-8 text, no changes before hashing.
Many text editors add a newline at the end of the file — remove it if it exists. The JSON must be byte-for-byte identical when you hash and sign it.
2) Compute the SHA-256 Hash of the JSON
Next, compute the SHA-256 hash of your file. This is the fingerprint that will be stored permanently on the blockchain. For this step, the command line or Windows PowerShell will be required.
In the command line, navigate to the folder where your token.json is located:
cd /home/myComputer/Documents/
Linux / macOS:
sha256sum token.json
Windows (PowerShell):
Get-FileHash token.json -Algorithm SHA256
You’ll get an output like:
eb625300080e8ea495369533644dc5152ca1f62d86a20bc2b5aca3508218bc03 token.json
This long hexadecimal value is your document hash. Keep it — you’ll use it when linking metadata to your token.

3) Upload the JSON File
In this step, you will need a server to host your file. You can choose any server to store your metadata document.
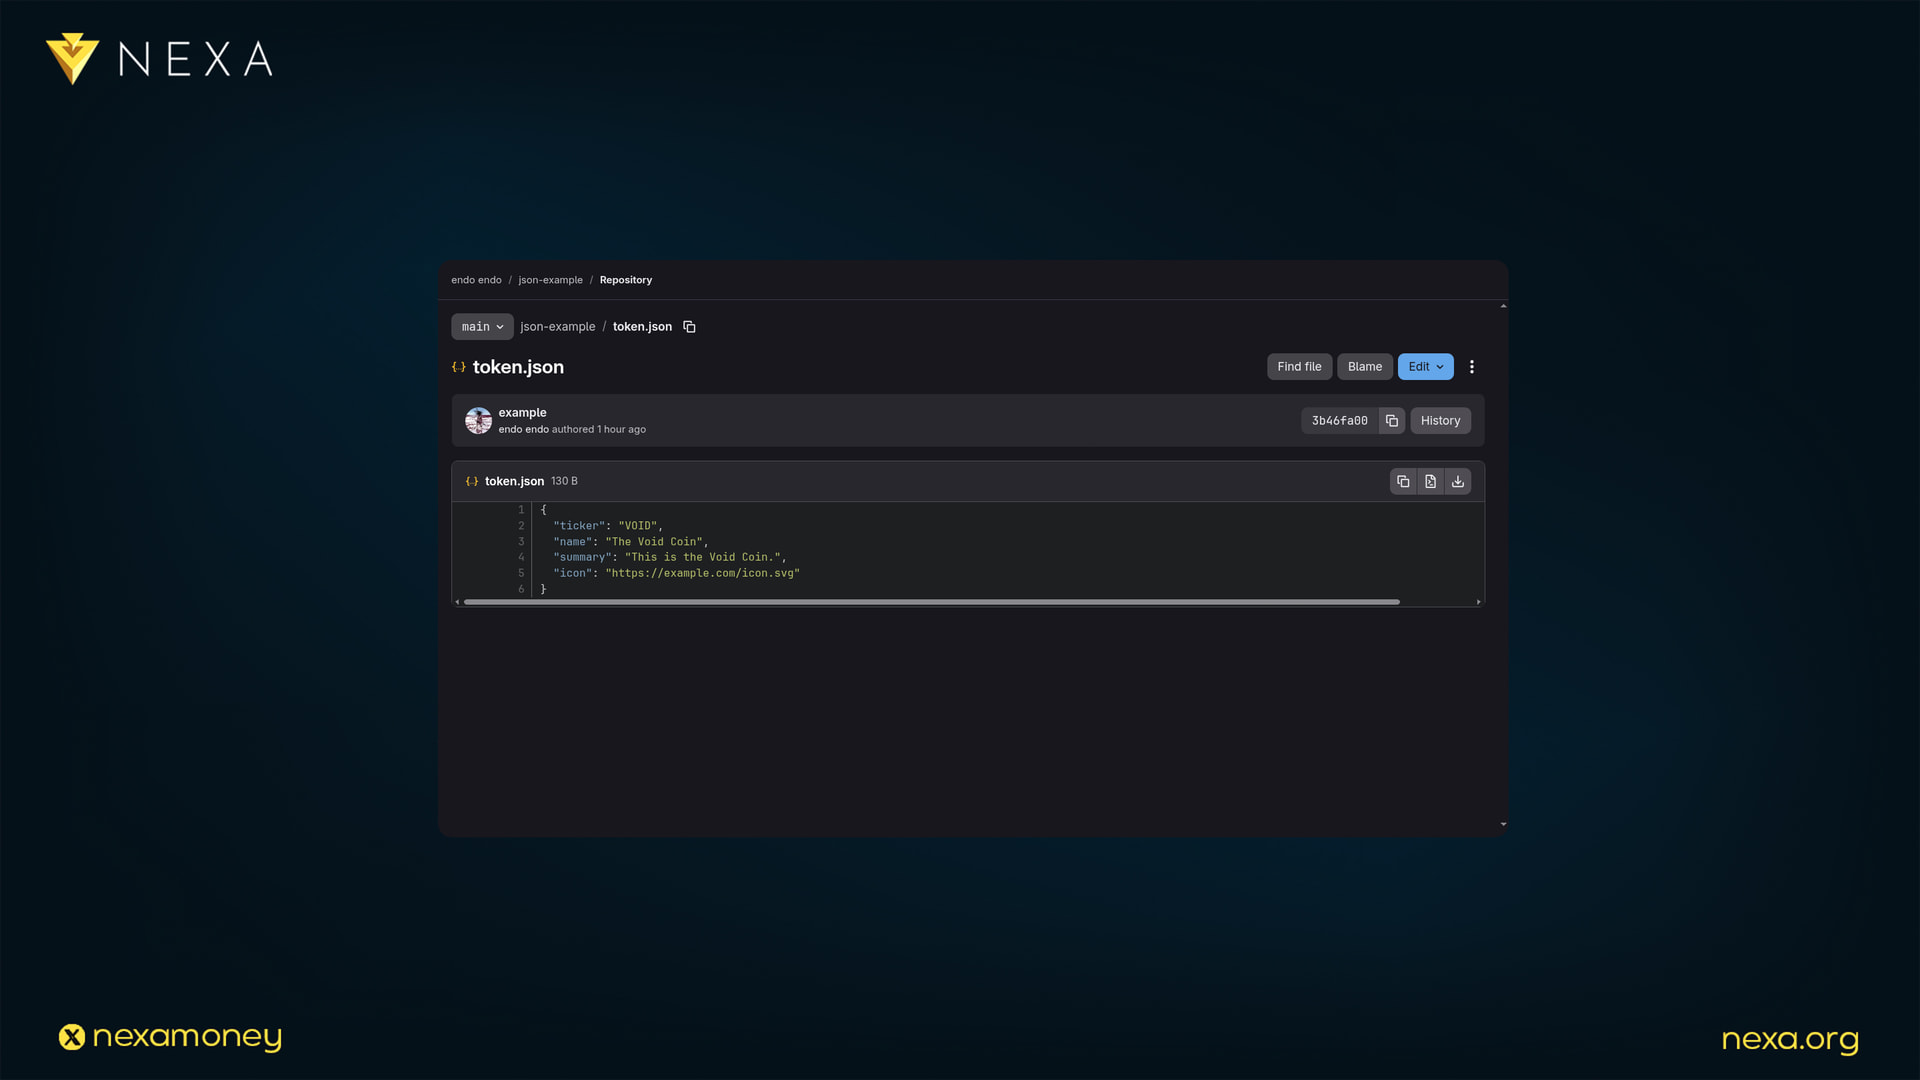
Upload your token.json file to a stable HTTPS location, for example:
One good option for managing your JSON files for tokens is using GitHub or GitLab. These platforms are widely adopted by developers around the world and can host your token image and metadata. An example is provided below:
https://gitlab.com/IamEndo/json-example/-/blob/main/token.json
Note: When managing, creating, or editing your metadata JSON file, the URL used for editing is different from the one used for serving the raw file. To link your token.json as raw data, the word ‘blob’ must be replaced with ‘raw’:
https://gitlab.com/IamEndo/json-example/-/raw/main/token.json
This URL will be public, and wallets will fetch the metadata from it. You’ll need both the URL and the SHA-256 hash for the next step.
4) Create your Token with the Metadata
Now you can link your JSON file to your token by including both the URL and the hash when creating your token information.
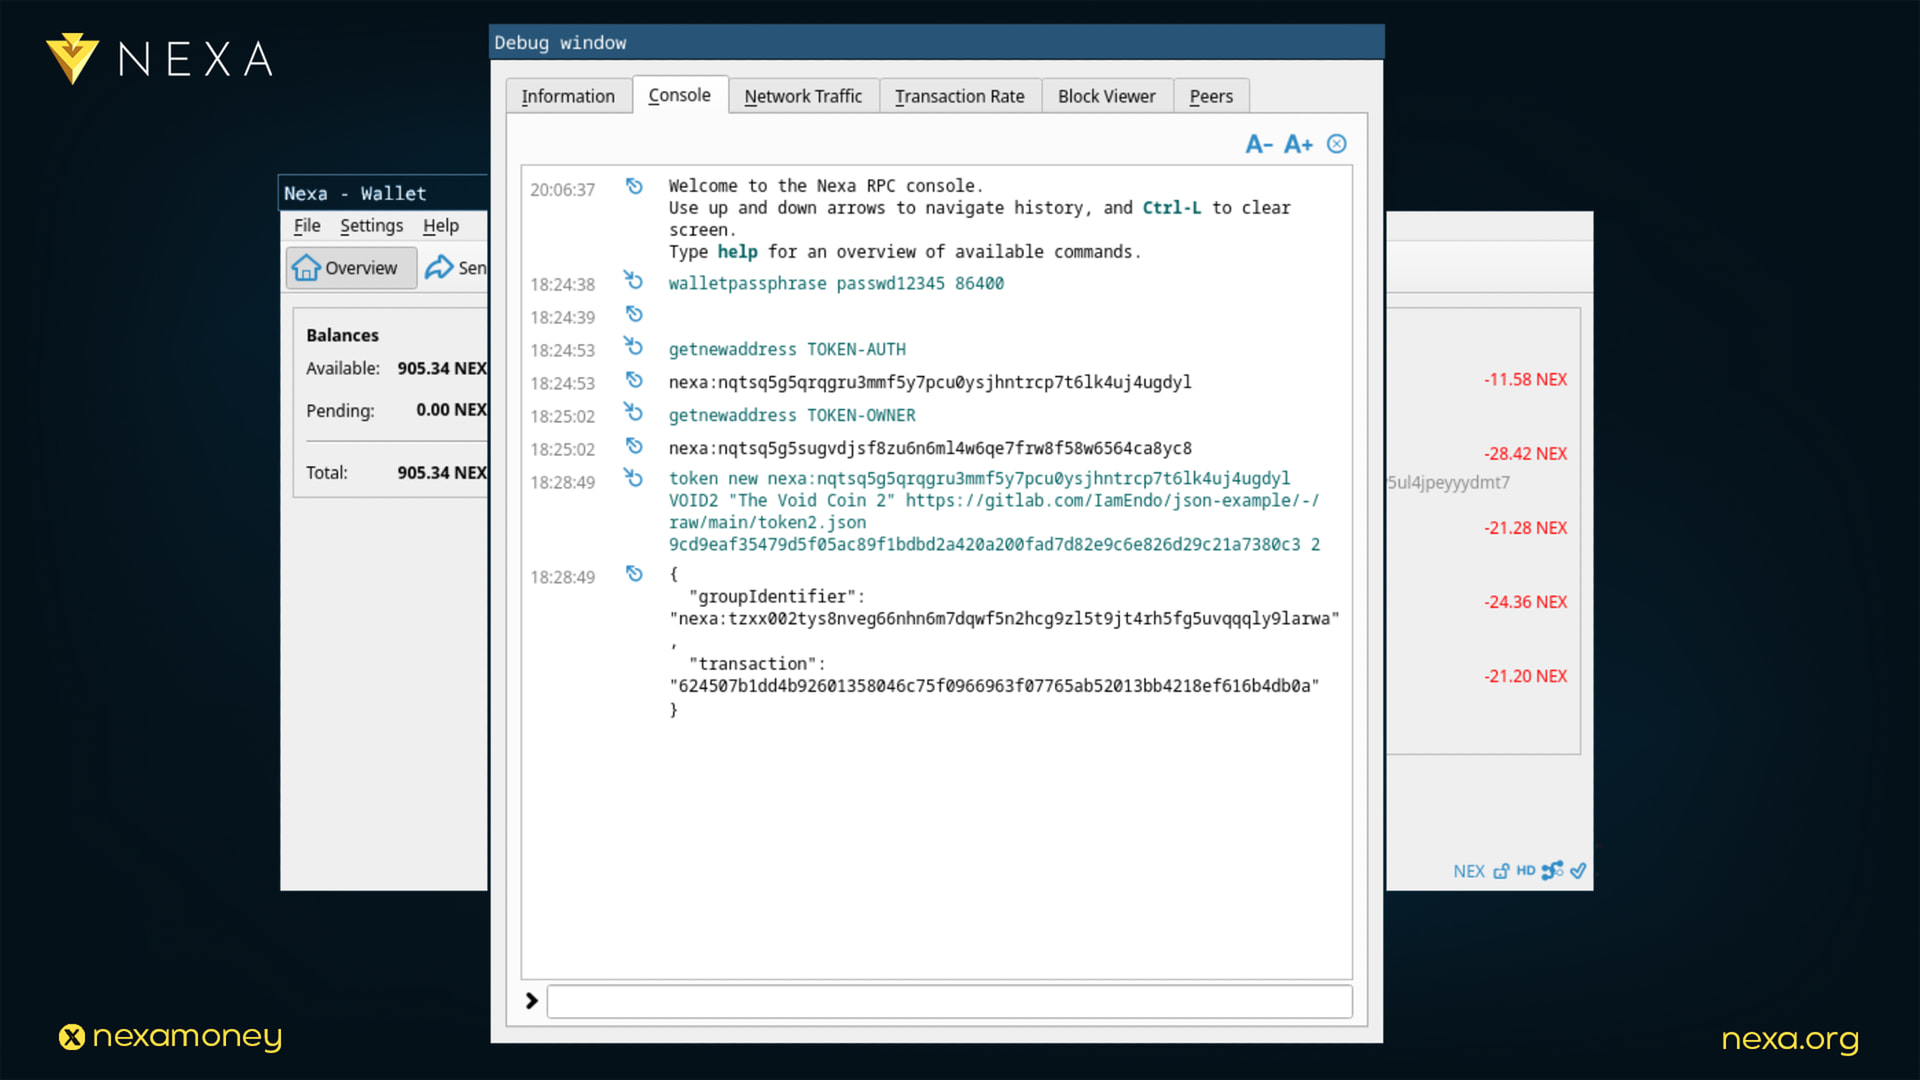
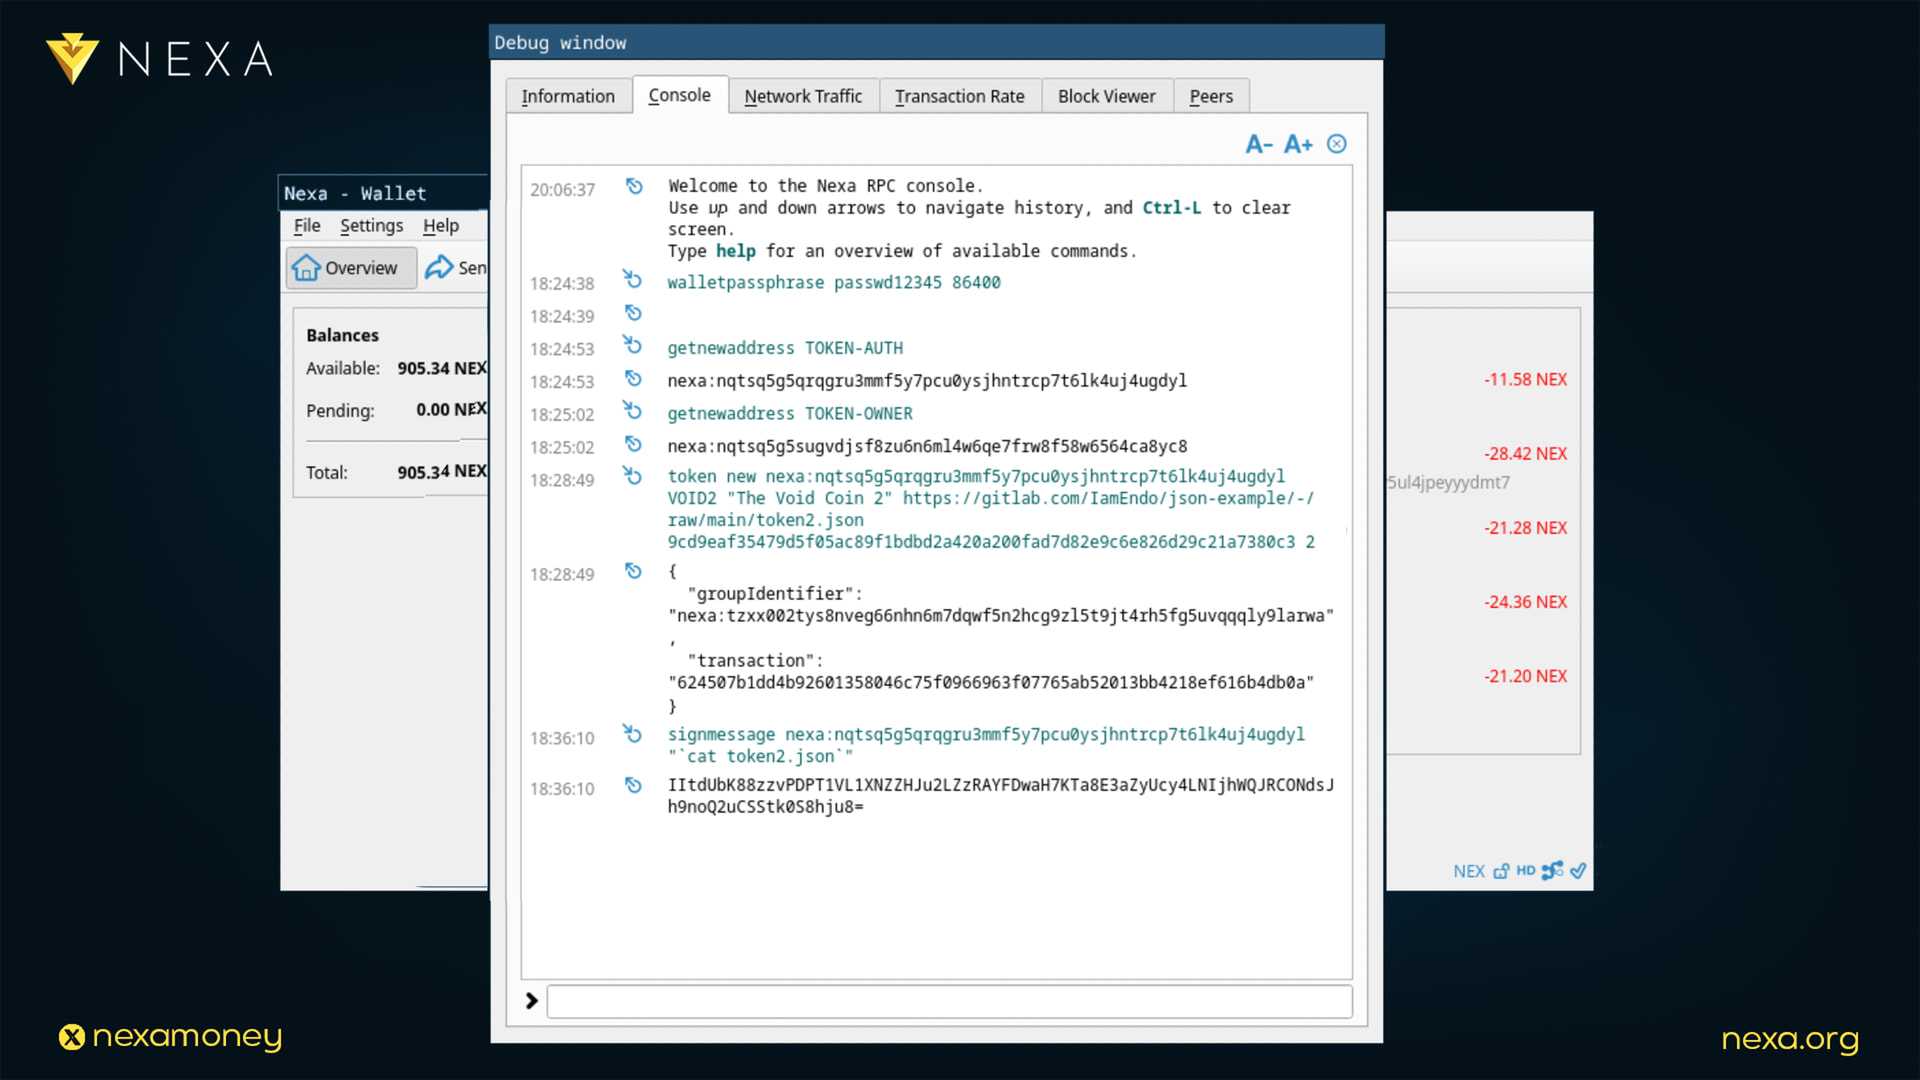
From the console or nexa-cli, type:
token new <AUTH_ADDR> VOID “The Void Coin” https://example.com/token.json b14db19b5eeb6e3e6c760f9f7762d5a1770b5aee9b2399c5a1f83ec9e9f7a7b0 2
This creates an on-chain commitment that permanently ties your token to that hosted metadata file. Once the metadata is linked, you’ll be able to mint your token supply and continue with the token creation guide.
5) Sign the JSON with Your Genesis Authority Address
After the token is created, note the genesis authority address (this is the address that holds the authority output in your token’s genesis transaction). You’ll now sign your JSON with this address to prove ownership.
In the console, run:
signmessage <AUTH_ADDR> “`cat token.json`”
This will output a base64-encoded signature, for example:
IItdUbK88zzvPDPT1VL1XNZZHJu2LZzRAYFDwaH7KTa8E3aZyUcy4LNIjhWQJRCONdsJh9noQ2uCSStk0S8hju8=
Save this signature — you’ll add it to your metadata file.
6) Publish the Signed JSON
Now update your hosted file to include both the JSON data and your signature.
Replace your existing file with this two-element JSON array:
[
{
"ticker": "VOID",

"name": "The Void Coin",

"summary": "This is the Void Coin.",

"icon": "https://example.com/icon.svg"
},
“<BASE64_SIGNATURE>”
]
Re-upload the updated file to the same HTTPS URL. This version is now signed, and anyone can verify it against the blockchain.
To Wrap Up
That’s it — your token metadata is now verifiable by every Nexa wallet and explorer, and you can return to Part 1. Even if someone tries to clone your token, it won’t be possible. In this way, the Nexa blockchain provides a method to secure authentic tokens, which may represent RWAs, tokenized assets, and more.