For the first time in human history, we finally have digital assets. Non-fungible tokens (NFTs) are revolutionizing digital ownership, enabling everyone to create, mint and trade assets on the blockchain. Essentially, anything can become a digital asset or NFT with its own digital fingerprint. In this way, assets become unique and can be verified on the blockchain.
In this guide, we will walk through the main steps to help you become more familiar with how you can become a digital creator. It is a quick and easy process, from installing Wally Wallet to minting your finished artwork on NiftyArt. After reading this guide, you’ll be ready to launch your very own NFT collection with confidence.
Bridge to the Blockchain: Wally Wallet
Before you can mint an NFT, you’ll need a cryptocurrency wallet that supports the Nexa blockchain. Wally Wallet is a user-friendly mobile option that lets you manage Nexa coins, tokens and NFTs, and it integrates seamlessly with NiftyArt. Installing and setting up Wally Wallet takes just a moment:
-
Download the App
Head to the App Store (iOS) or Google Play (Android) and search for Wally Wallet. Tap Install to add it to your device. -
Create or Restore
Launch Wally Wallet and choose Create new wallet. The app will generate a 12-word recovery phrase, write it down on the paper in a few copies and store it somewhere secure. If you already have a wallet, enter your recovery phrase instead of leaving the field empty and your wallet will be recovered.
With Wally Wallet ready, you’re equipped to interact with the Nexa blockchain decentralized applications like NiftyArt.
Connecting Wally Wallet to NiftyArt
The next step is connecting your wallet to the NiftyArt platform:
-
Open Your Browser
On the desktop browser go to https://niftyart.cash. -
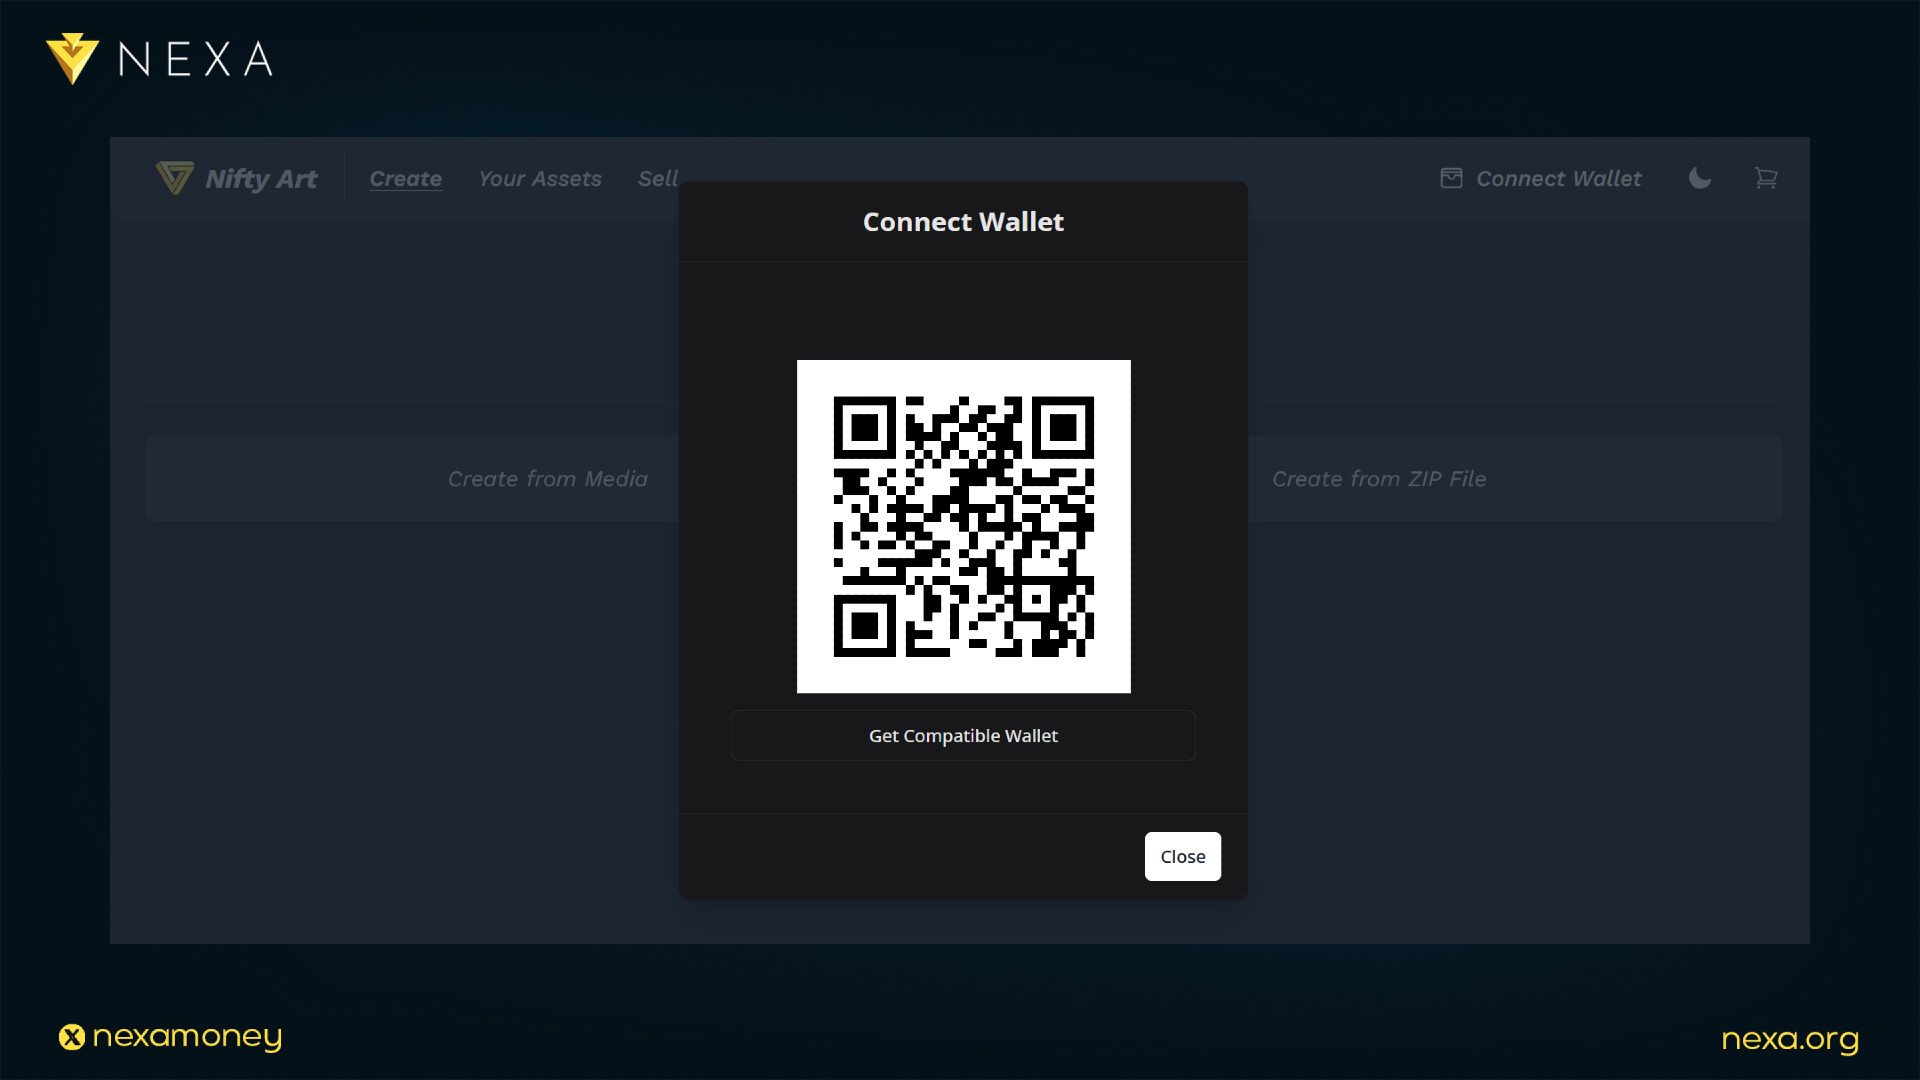
Initiate Connection
Click the Connect Wallet button, located in the top-right corner. -
Scan QR Code
A QR code will appear on the screen. In Wally Wallet, tap Scan QR, point your camera at the code, and approve the connection when prompted.
Once connected, NiftyArt can interact with your wallet to request approvals and display your assets on the website.
Preparing Your Data
Everything and anything can be an NFT, from the pixelated profile pictures we’ve seen, to music, movies, various types of files and even documents, news, and articles. All of these can be transformed into NFTs and tokenized, hashing and proving the authenticity of data and verifying it on the blockchain.
Successful NFT drops start with organizing your data and deciding whether you’re minting:
-
A single NFT (a “1 of 1” unique set of data)
-
A series (multiple editions or unique pieces belonging to the same collection)
Ensure your files are under 50MB in size and in a supported format (Accepted formats: AVIF, .WEBP, .OGG, .MP4, .MPEG, .MPG, .WEBM, .SVG, .GIF, .PNG, .APNG, .JPG, .JPEG, .MP3, .WAV, .PCM, .M4A, .FLAC, .WMA, .AAC, .AC3, .AIFF). Meanwhile, draft:
-
A title, author and category to your work (these are essential to create an NFT)
-
A name for series of data, it will be grouped together as a collection
-
Optionally you can provide Owner Media File, Card Front and Card Back
-
Keywords, companion App URI and other information is optional
-
Fungible Quantity is also optional, but you can have multiple pieces of the same token
Having this information prepared will help speed up the minting process.
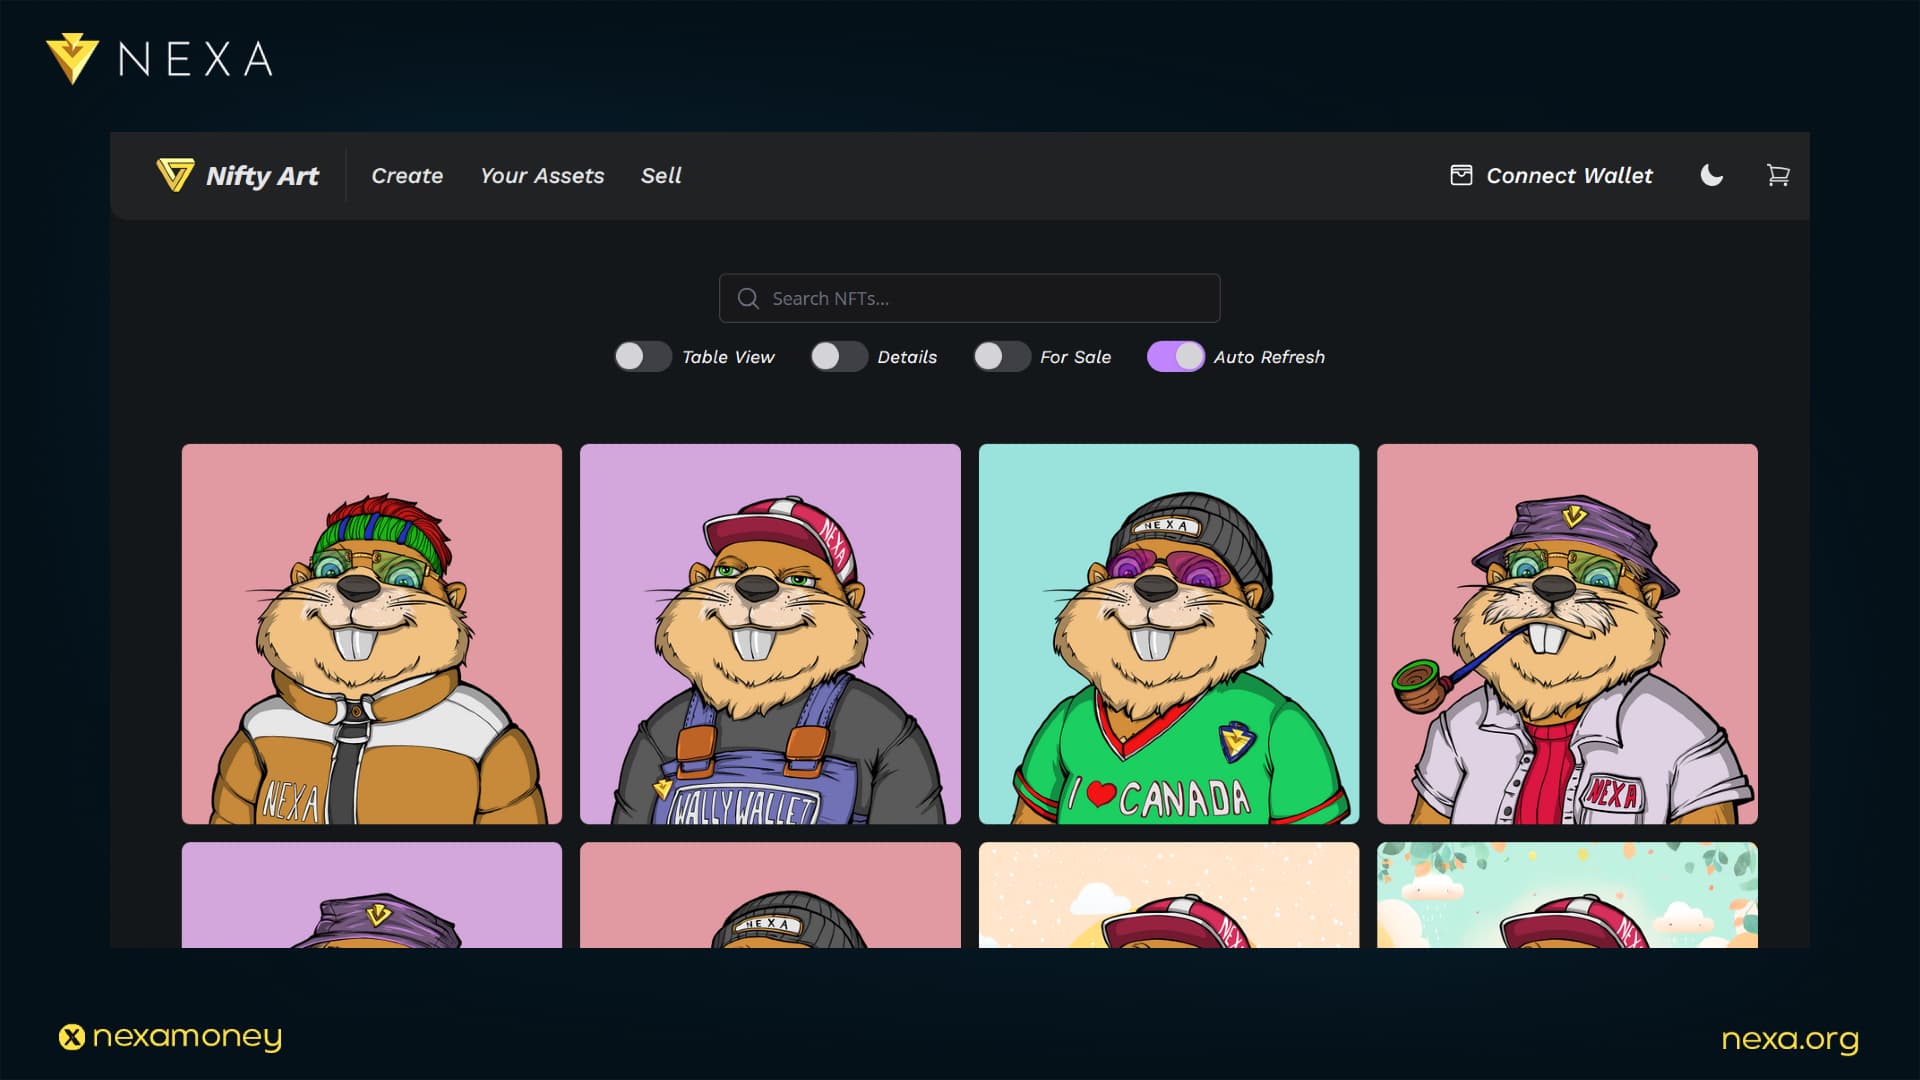
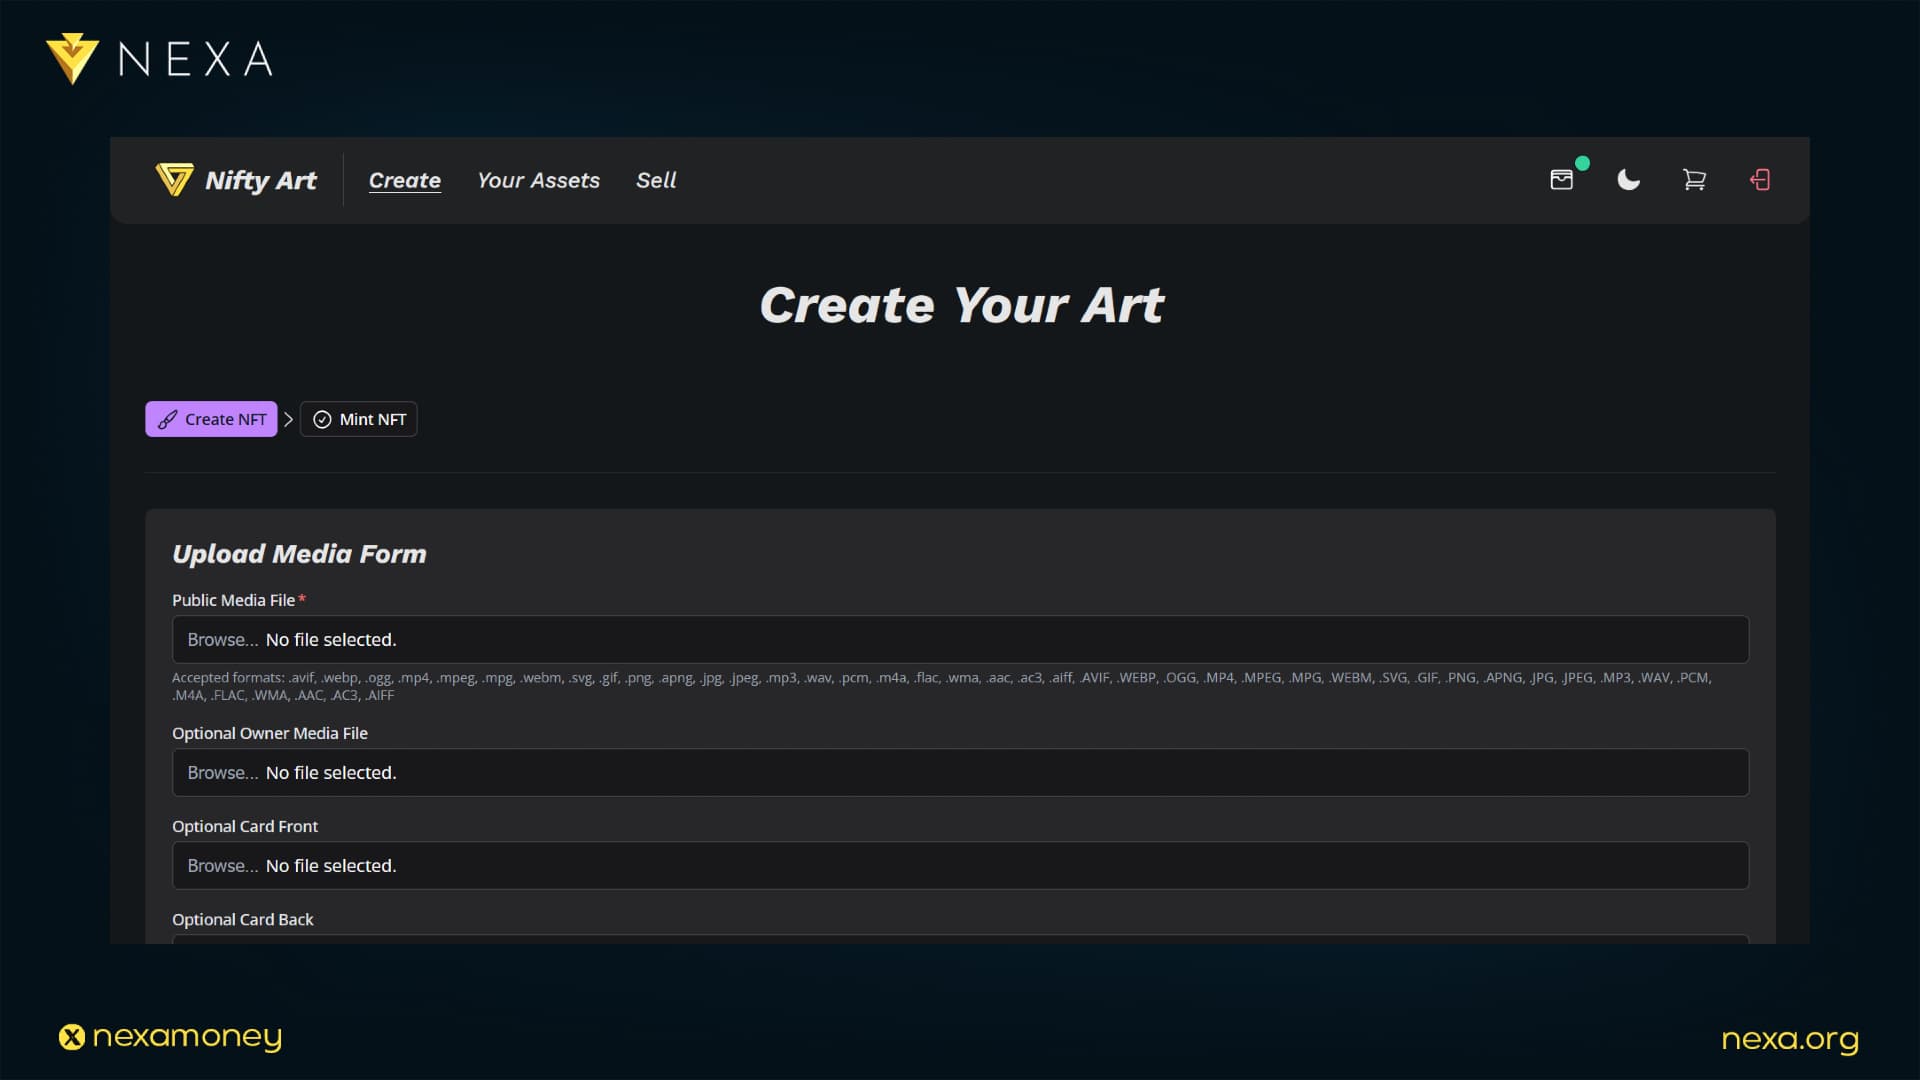
Creating Your NFT on NiftyArt
With your art and metadata at hand, you’re ready to mint:
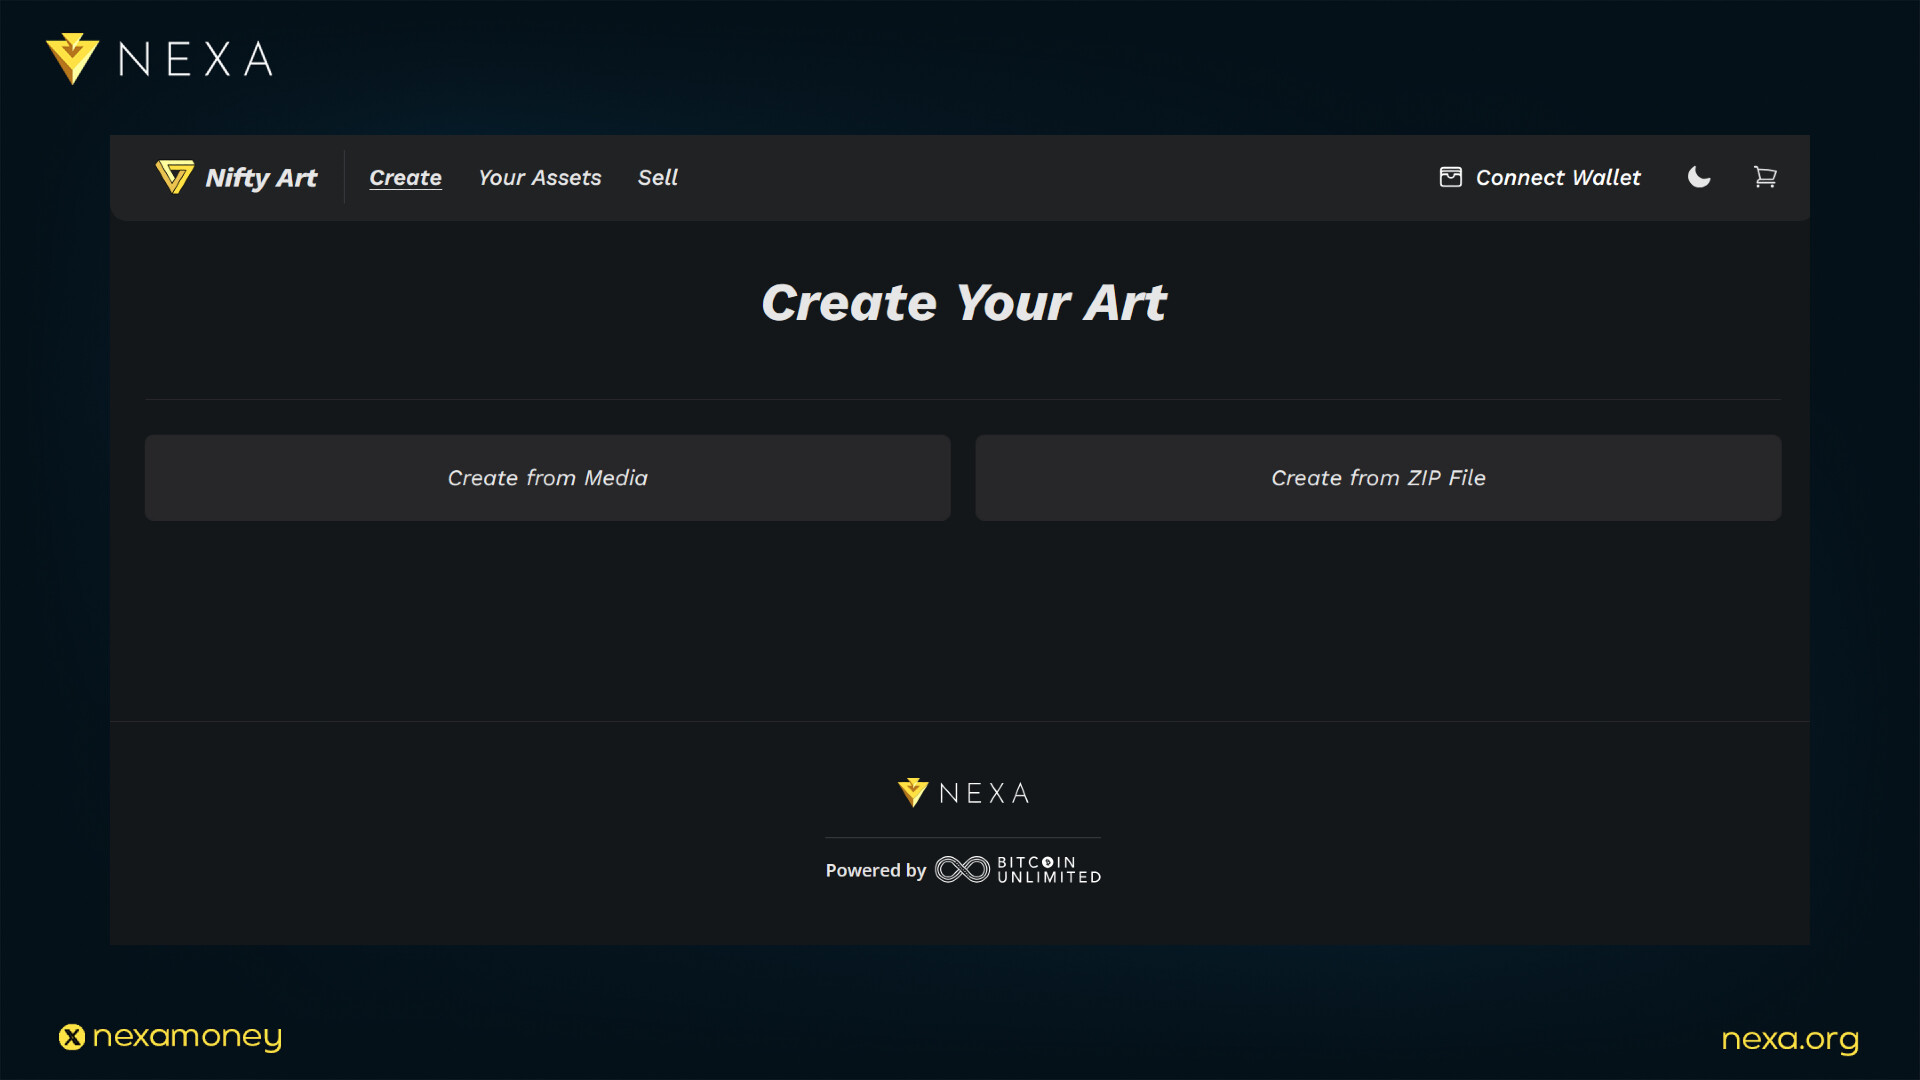
-
Navigate to “Create NFT”
From the NiftyArt dashboard, click Create. -
This guide covers the “Create from Media” option
Click Create from Media. -
Upload “Public Media File”
Click Browse and select your file. The Public Media File is required, while the Owner Media File, Card Front and Card Back are optional. -
Enter Necessary Details
-
NFT Title: Your NFT’s title
-
Author: Creator of the NFT
-
Category: Link your NFT to category
-
Select the legal status of your work: “This is public domain, creative commons or freely distributed work” OR “You own the copyright to this work”
- Review Everything
Double-check your file, NFT title, author, category and the selected legal status of your work.
Important: Category is not the same as Series/Collection! If you want to assign your NFTs to the same series, you must enter the exact same name for the series.
After creating an NFT, you CANNOT change its details. This process is one-time and cannot be undone or rolled back. Proceed with care and always double-check all the information.
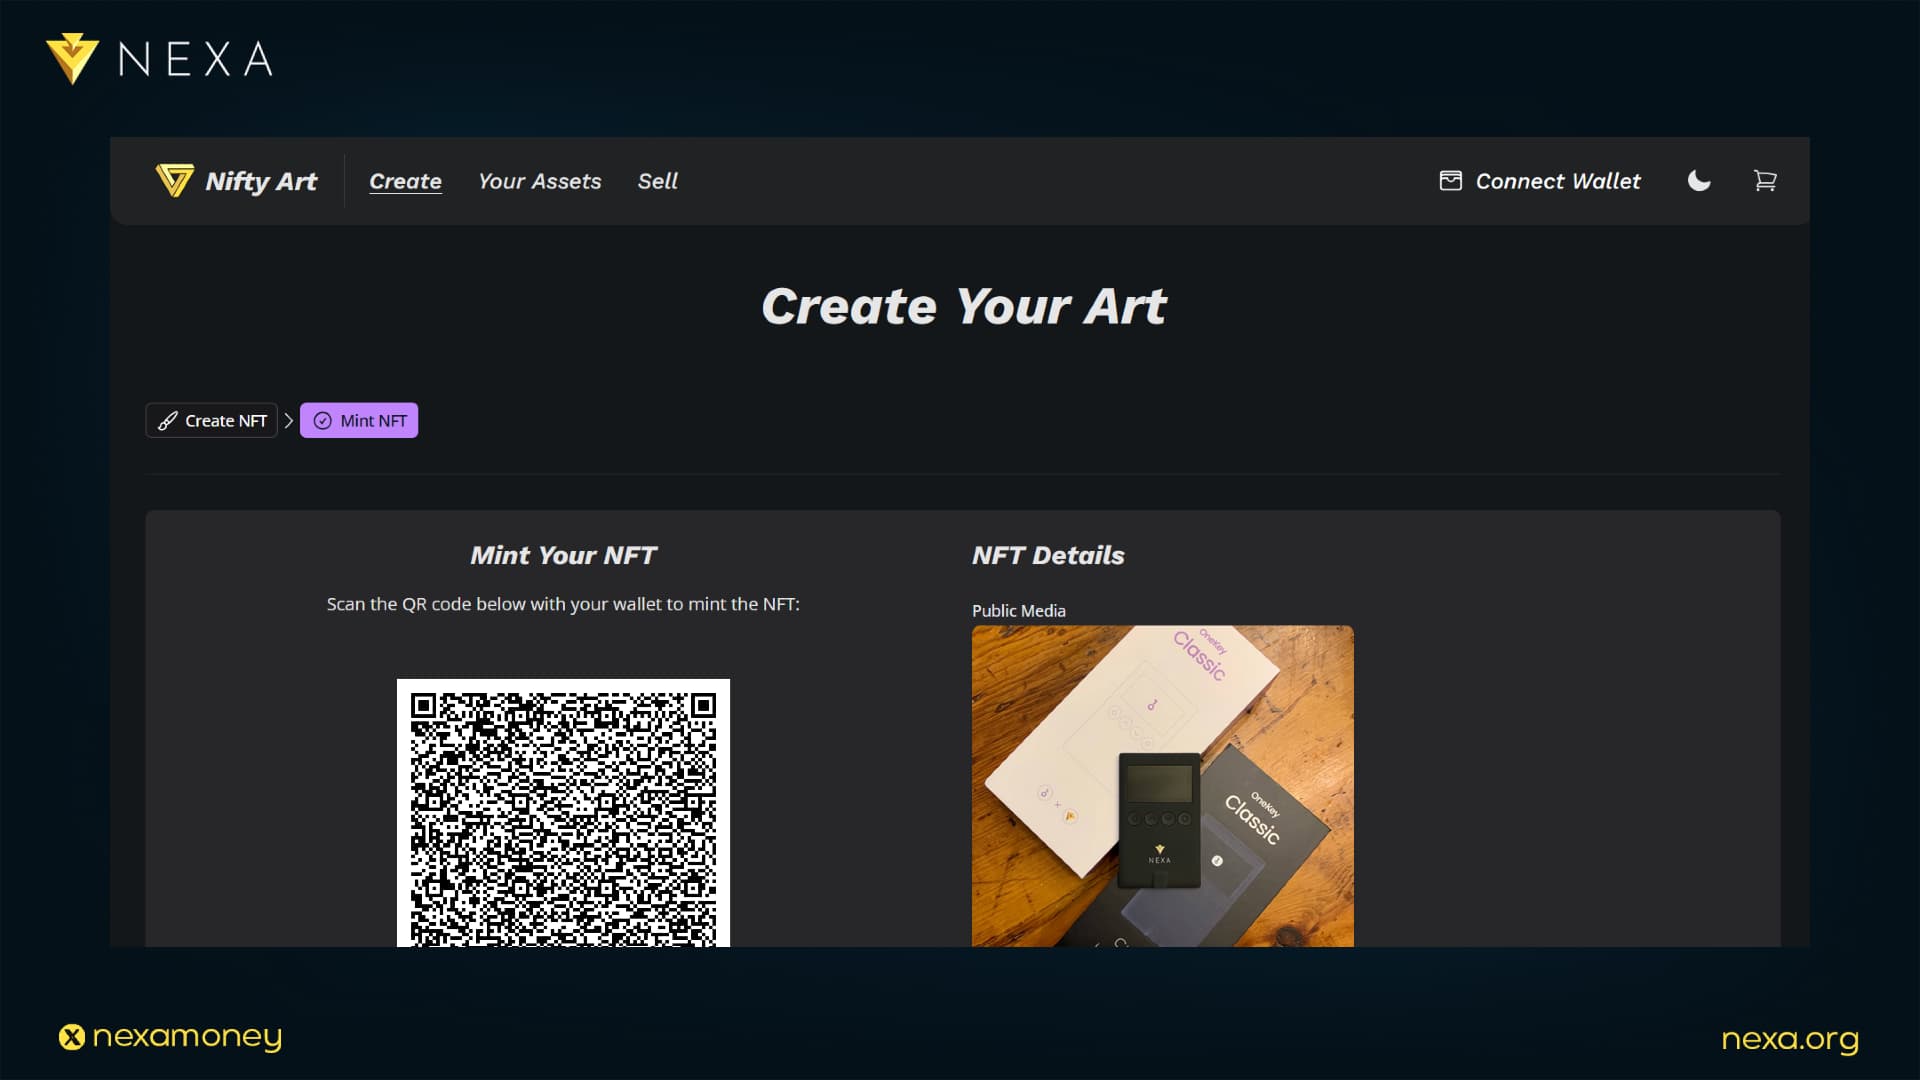
Minting and Confirming the Transaction
When you’re done with your setup, click “Submit”. This action confirms the NFT details and takes you to the next page, where a blockchain transaction is created. This transaction must be signed in your wallet.
-
QR Code: Scan the QR code displayed by NiftyArt using Wally Wallet’s scanner, then review and confirm the transaction clicking “accept”.
-
Send to Wallet: Click Send to Wallet, which pushes the transaction details directly to Wally Wallet. There, you can review the transaction and tap Accept.
NiftyArt works seamlessly with Wally Wallet and the experience is instant. However, it’s still important to have a good internet connection. Once the minting is complete, NiftyArt will display a green banner saying “NFT Successfully Minted!”
NFT Successfully Minted
After minting, click Your Assets on NiftyArt to view all your new NFTs. From here, you can repeat the process to build a full collection. You’ll be well on your way to launching a professional NFT series on NiftyArt, powered by the Nexa blockchain and seamlessly integrated with Wally Wallet. Happy minting!