Welcome to the Nexa Tokens Explorer for tracking assets and tokens on the Nexa blockchain. With this tool, you can easily monitor token transfers, view detailed information about each token, and explore the overall activity within the Nexa ecosystem.
Start exploring now at Nexa Tokens Explorer
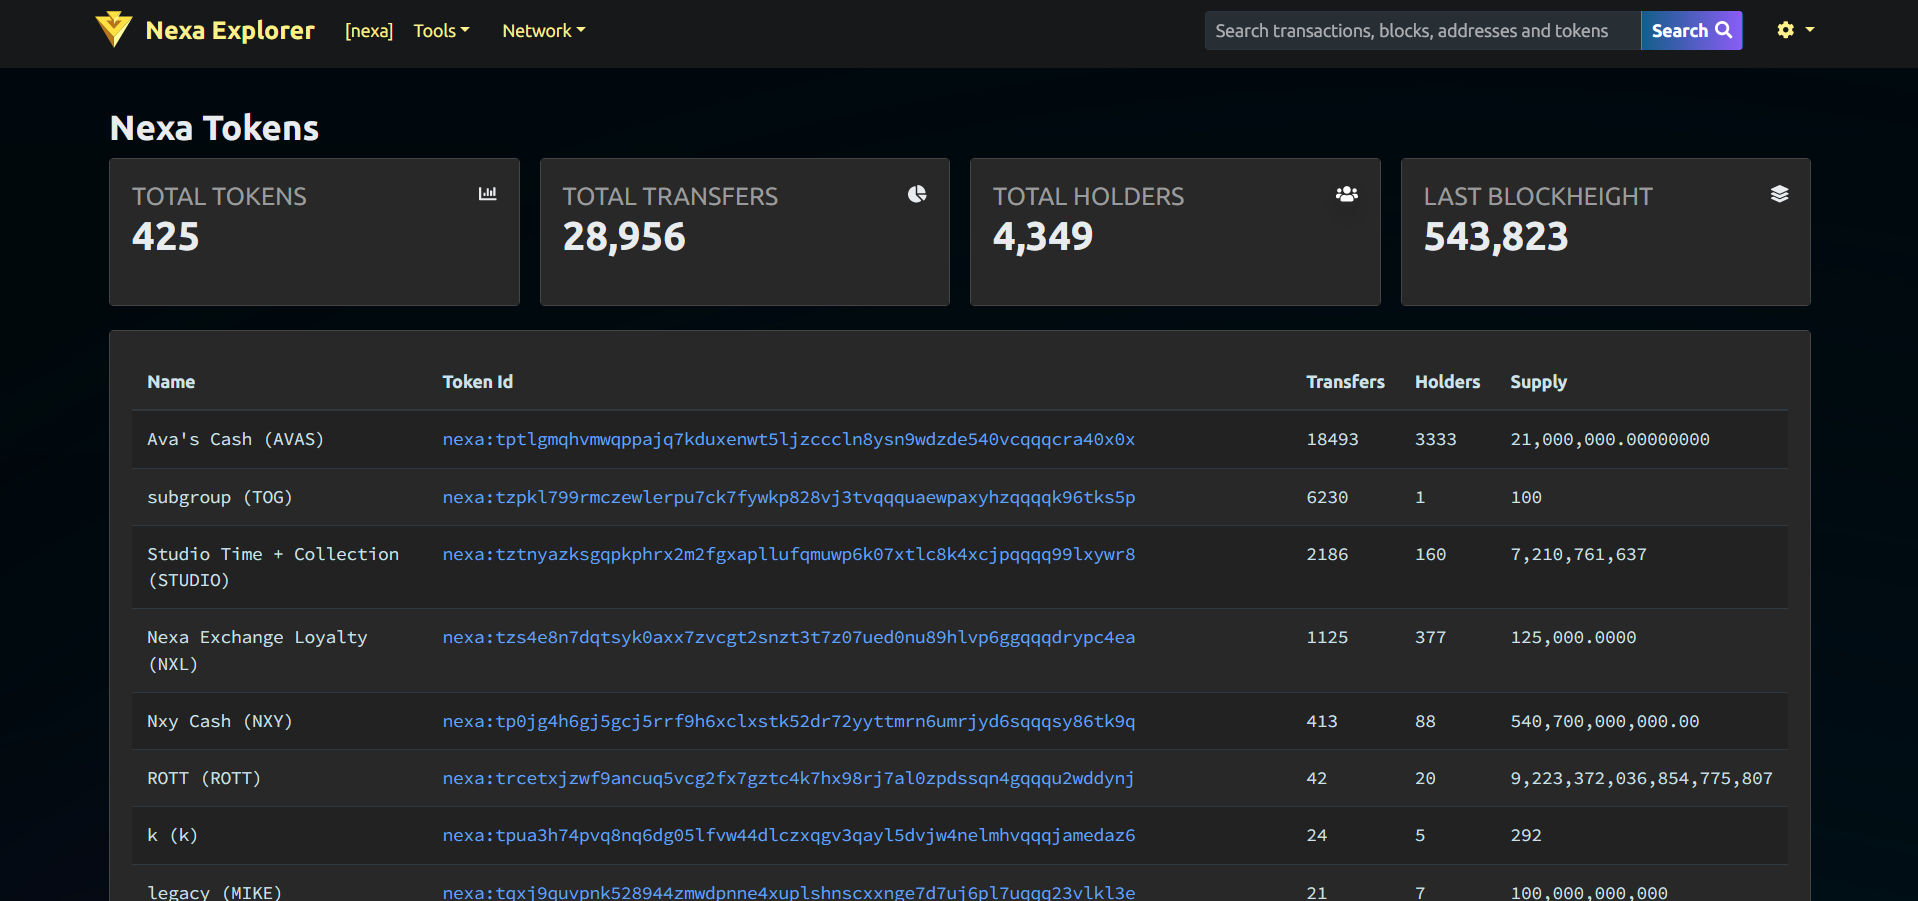
The first image shows an overview of the Nexa tokens. Here, you can see the total number of tokens, total transfers, total holders, and the last block height. Each token is listed with its name, token ID, number of transfers, number of holders, and total supply.
To interact with this page:
- Search for a Token: Use the search bar at the top right to find specific tokens by name or ID.
- View Token Details: Click on a token’s name or ID to get more detailed information.
- Monitor Transfers: Keep an eye on the total transfers to see how active a token is.
- Check Supply and Holders: Look at the supply and number of holders to understand the token’s distribution and popularity.

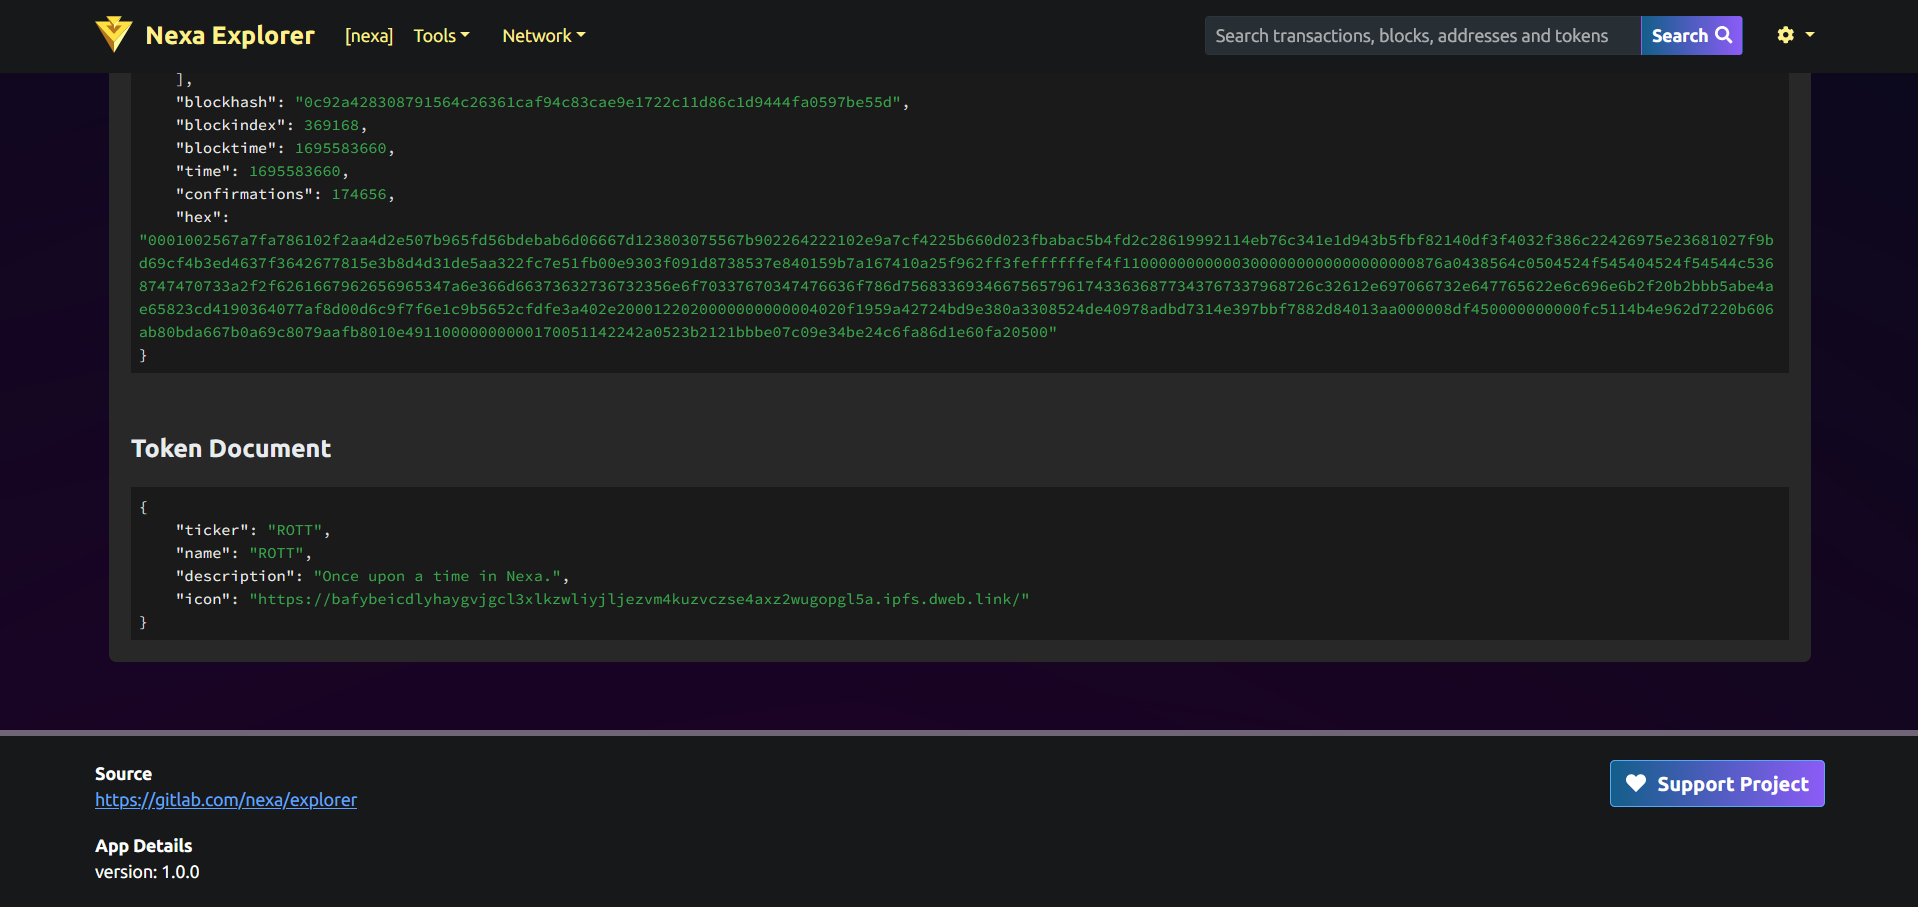
When you click on a token, you’ll see a detailed page like in the second image. This shows information about the token’s total supply, circulating supply, market cap, and other basic info.
To understand this page:
- Read Basic Info: This includes the token’s group, genesis transaction, and creation date.
- Holders and Transfers: See the number of holders and total transfers to gauge the token’s usage.
- Further Analysis: Scroll down to view detailed transfer records and other analytics.
The third image displays the token’s transfer details. Here, you can see the amount transferred, the sender and receiver addresses, and the transaction hash.
To use this section:
- Review Transfer Records: Check the history of transfers to see recent transactions and their sizes.
- Track Transactions: Use the transaction hash to find specific details about any transfer on the blockchain.
- Analyze Activity: Look at the amounts and frequency of transfers to understand token activity.
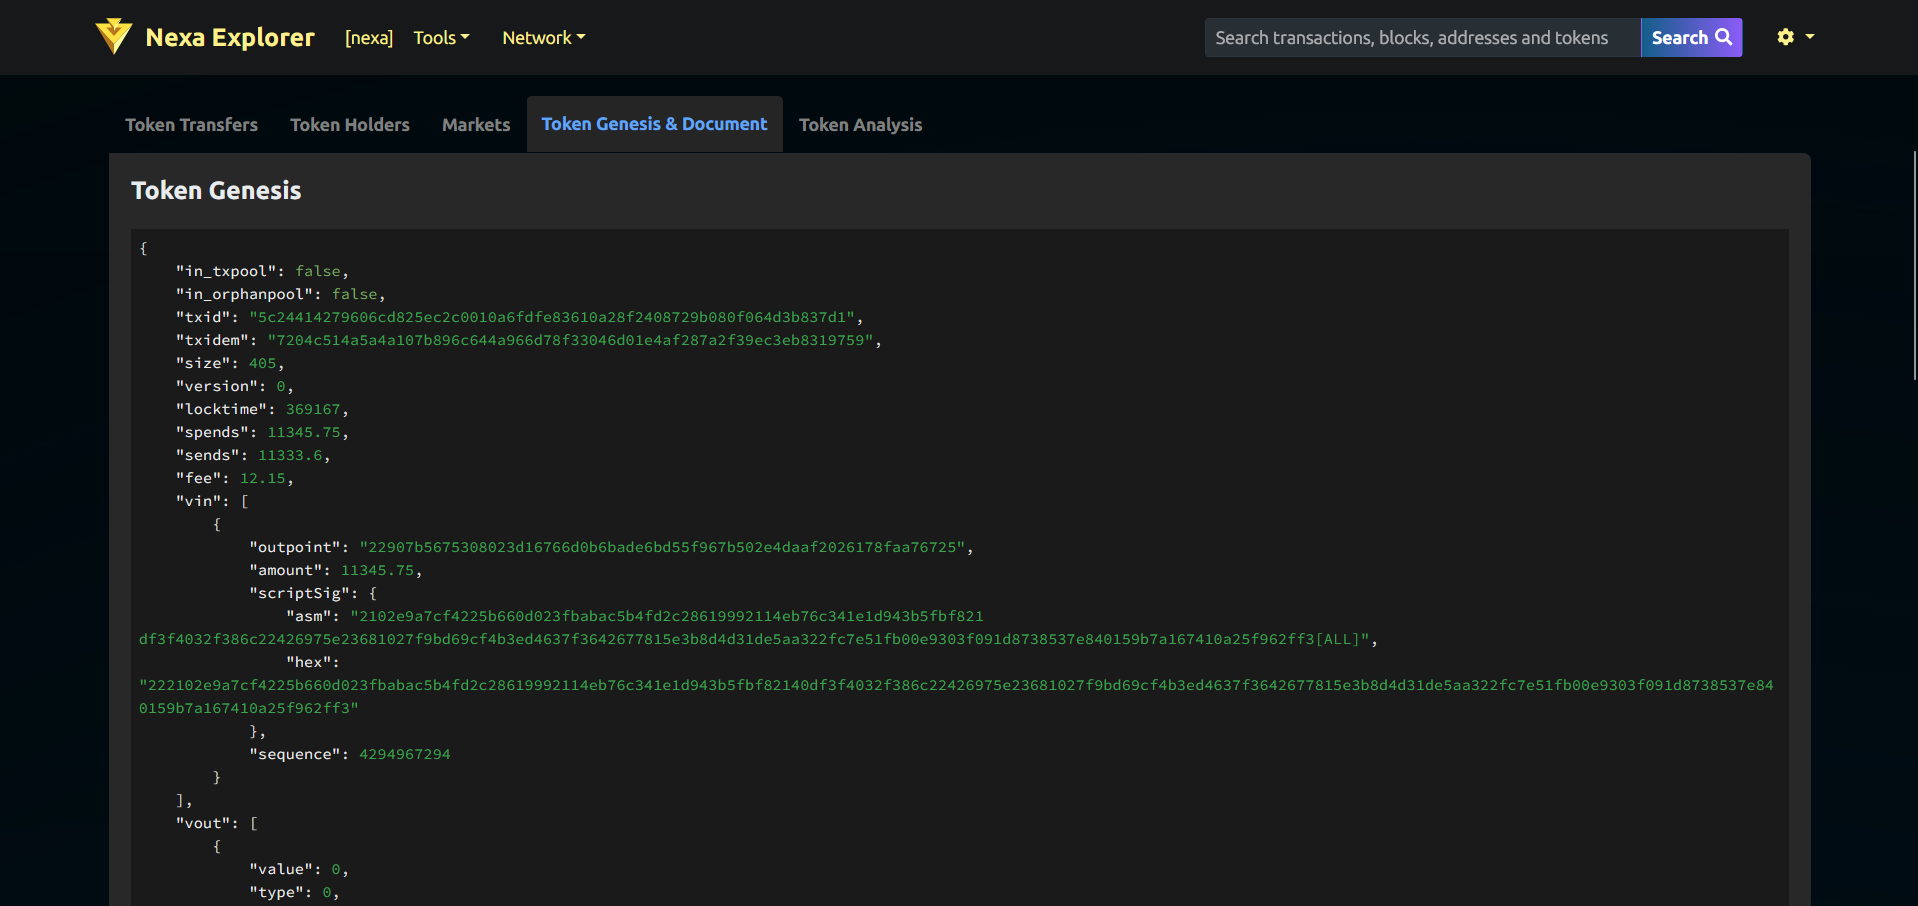
The fourth image shows the token genesis data, which includes technical details about the token creation.
To navigate this page:
- Understand the Genesis Block: This is the first block where the token was created.
- Transaction Details: View the genesis transaction ID, time, and other metadata.
- Technical Specifications: Check the scriptSig and other blockchain-specific details for technical insight.
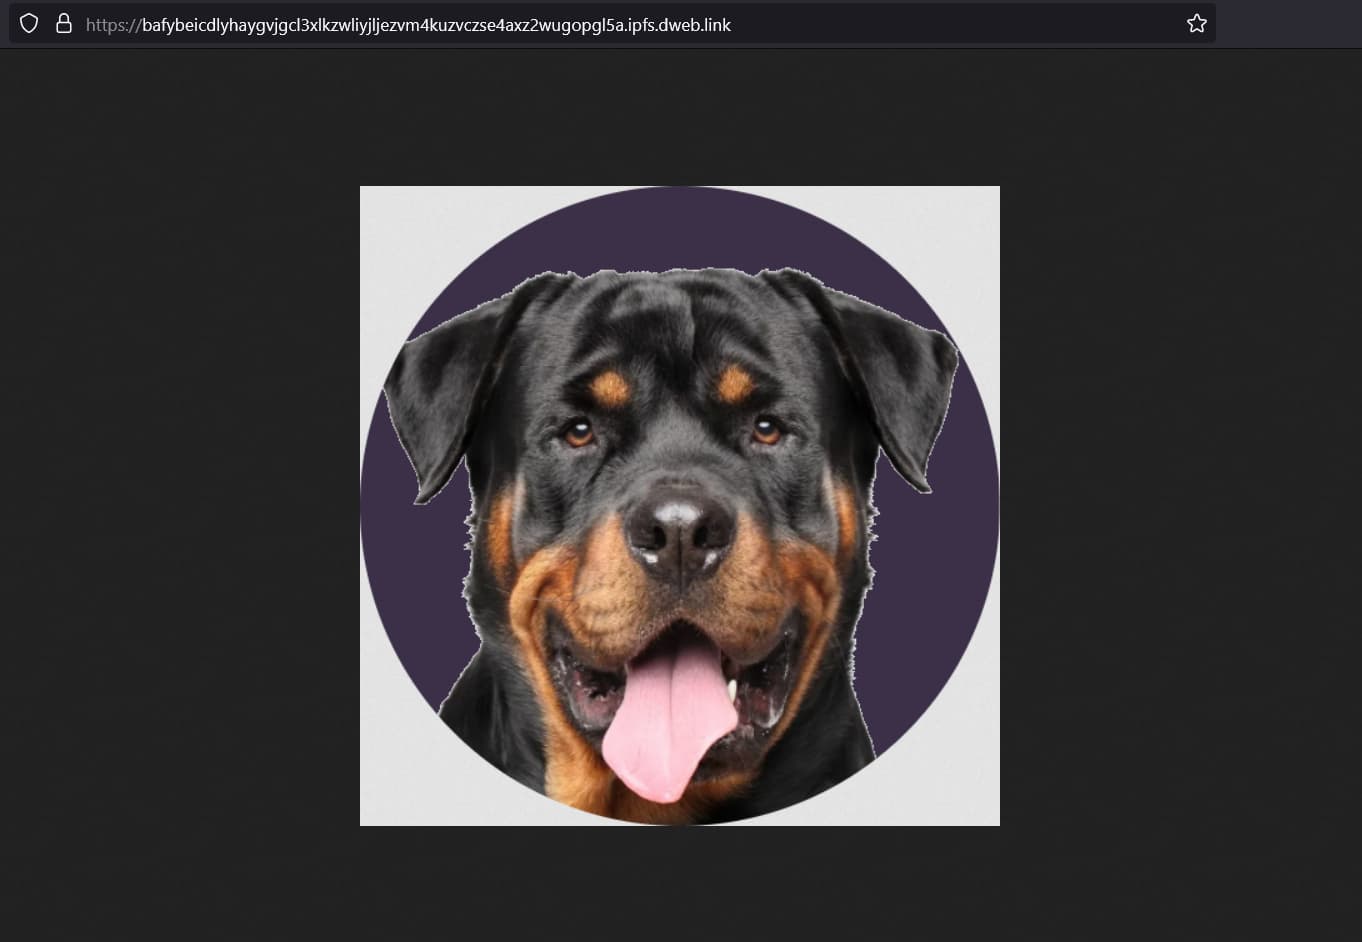
The final image shows the icon associated with the token, which helps in visually identifying the token.
To utilize this image:
- Recognize the Token: Use the icon to quickly identify the token across different platforms.
- Branding: The icon represents the token’s brand, making it easier to remember and recognize.
If you’re interested in creating your own tokens on Nexa, it’s simpler than you might think! To get started, you can follow these comprehensive guides available on our forum. Check out the Nexa Self-Custody Tokenize Desktop App for a detailed walkthrough on creating tokens using a desktop application. Alternatively, you can use the Nexa Online Tokenex Tool for an online method. Both guides are user-friendly and will help you create tokens with ease.
Additionally, we recommend downloading the Wally Wallet to manage your tokens. Learn how to get started with Wally Wallet by following the guide in the forum: The Ultimate Guide for Wally Wallet
By utilizing these resources, you’ll be well on your way to creating and managing your own tokens on the Nexa platform. Happy tokenizing!