Background: What is a token?
A token is a representation of an asset on a native cryptocurrency blockchain that has been given certain semantics or usage cases, whether trivial or of high substance. Their usage cases are broad in the world of cryptocurrency and can be utilized for various means such as stable coins (such as USDT and USDC), NFTs, ticketing, and as native currencies of dApps and other DeFi ecosystems
Native Tokens
Tokens are a market-validated use case for cryptocurrency which will bring significant amounts of value and network effects to Nexa. This is why Nexa offers token functionality natively without any need for special smart-contracts or token standards like ERC-20. But if you need the full power of smart-contracts for your token, you have that too.
Tokens on Nexa get the 1st class treatment. Creating and managing tokens is done just like sending NEX without any need for special smart-contracts. Your new project can create a token on Nexa within a few seconds. But of course if your projects needs this, your token will have full access to the smart-contract capabilities of Nexa.
What is the difference between Tokens on Nexa and on Ethereum?
Nexa tokens are “native” tokens meaning the fundamental properties of their token semantics and rules is enforced by the blockchain. Whereas Ethereum is a massively distributed computer which has had finance implemented on top of it, with tokens enforced by unique smart contracts specific for each token.
From a technical standpoint, Nexa tokens get included as an additional tag that gets included on an output of a transaction that is enforced by miners.
How does it work?
To provide everyone with a clear understanding of how the Tokenex creation tool works, you’ll find a step-by-step guide below.
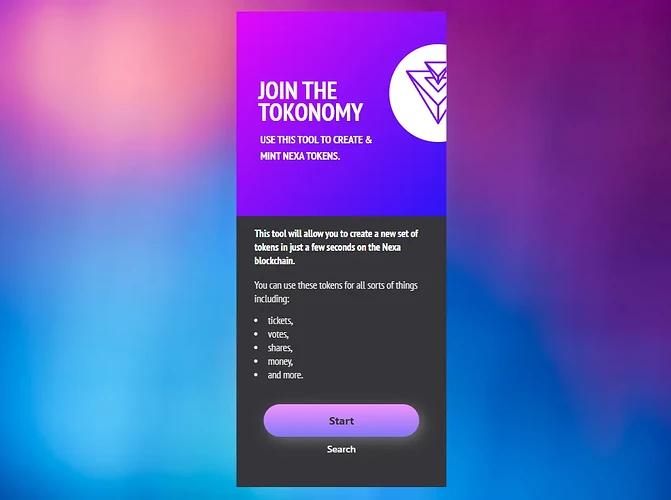
When you launch the Tokenex app via https://tokenex.nexa.org/ , the first screen you’ll see is shown below.
Join the Tokenomy
This tool will allow you to create a new set of tokens in just a few seconds on the Nexa blockchain.
You can use these tokens for all sorts of things including:
tickets,
votes,
shares,
money,
and more.
Press start to continue or press Search to find a specific token via it’s unique creation UID.
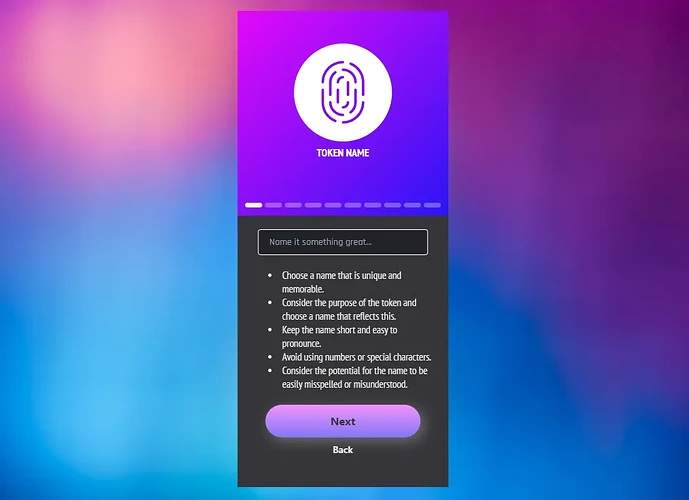
Decide a name for your project
Choose a name that is unique and memorable.
Consider the purpose of the token and choose a name that reflects this.
Keep the name short and easy to pronounce.
Avoid using numbers or special characters.
Consider the potential for the name to be easily misspelled or misunderstood.
Make sure to choose a name that is perfectly fitting your needs. The token name cannot be changed later, this is a 1 time decision.
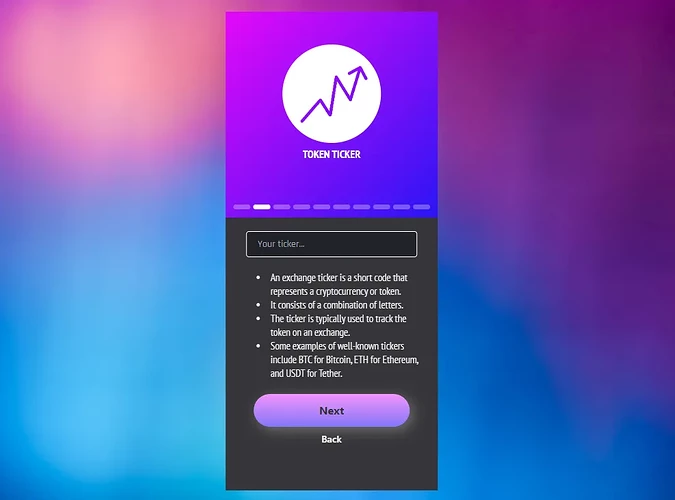
Token ticker
An exchange ticker is a short code that represents a cryptocurrency or token.
It consists of a combination of letters.
The ticker is typically used to track the token on an exchange.
Some examples of well-known tickers include BTC for Bitcoin, ETH for Ethereum, and USDT for Tether.
Make sure to choose a ticker that is perfectly fitting your needs. The ticker name cannot be changed later, this is a 1 time decision.
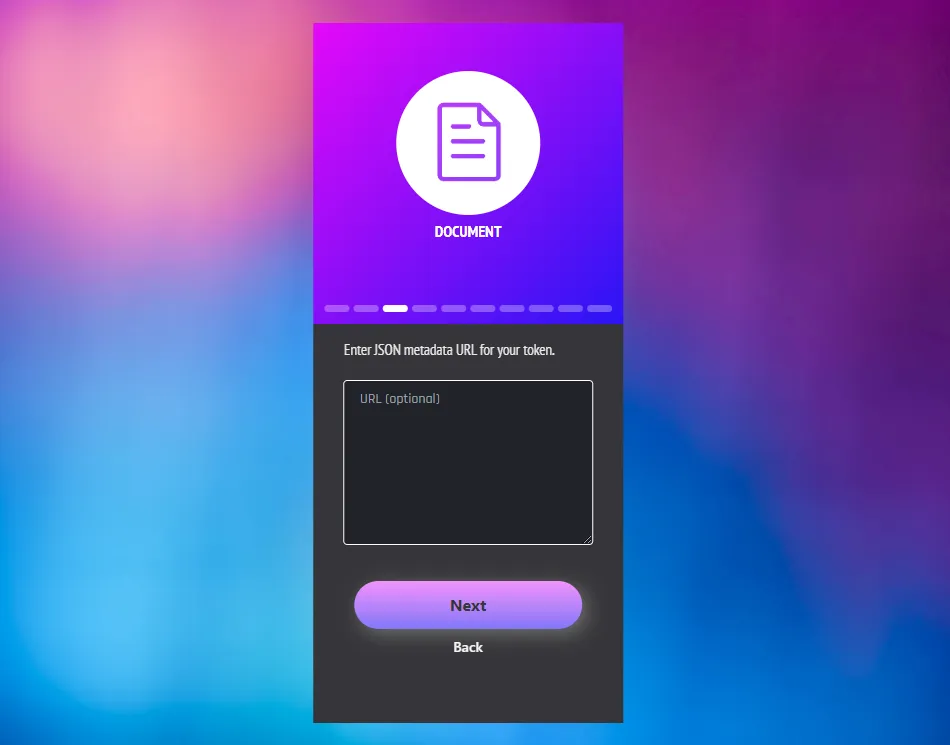
Documents, JSON metadata
Here you can optionally provide your JSON metadata URL or you can leave it blank, this is optional. Might you want to know more about this, please check out https://spec.nexa.org/blockchain/tokens/tokenDescription. Your JSON file will need to be hosted online somewhere which can be relied upon. The URL for this file should be entered in this field.
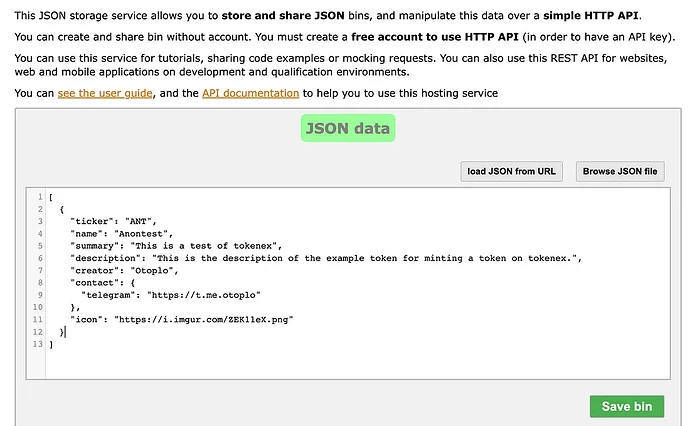
If you just want a quick solution for now for testing, we recommend using the service at Free JSON storage over HTTP API.
- Start by creating a free account at Create your ExtendsClass Account.
- Then go to Free JSON storage over HTTP API and enter your token metadata there as a JSON file.
- For the token icon we recommend using https://imgur.com as a free option for testing. You can upload an image there and grab the URL for it for your token metadata.
- Before saving your JSON bin you should enter a Security key and write it down somewhere so you can update the data in the future (you’ll need to do this in the next steps). This should be a long set of random characters like a password.
- Save the JSON bin. You’ll be given the the URL where the JSON file is being served and a URL where you can update the JSON file. You’ll need both of these, so save this information somwhere.
- Next enter the URL where your JSON file is being served in Tokenex user input. It will look something like https://json.extendsclass.com/bin/9af4d07b1fca.
- After continuing and following the other sections of this guide you’ll need to come back here and finish off updating your JSON file so that it includes the signature that Tokenex provides.
- In the section below titled ‘Complete!’ the Tokenex webapp will display a field called ‘Metadata Sig’ if you entered a URL for your JSON metadata. You need to copy this data.
- Go back to extendsclass.com at the URL where you can edit your JSON file. It will look something like Free JSON storage over HTTP API.
- Update your JSON file to include the signature. An example on how this should look is given below.
- Enter your Security Key from earlier and click ‘Save’.
- Done! Your metadata is now correctly associated with your token.
Without Signature
[
{
“ticker”: “ANT”,
“name”: “Anontest”,
“summary”: “This is a test of tokenex”,
“description”: “This is the description of the example token for minting a token on tokenex.”,
“creator”: “Otoplo”,
“contact”: {
“telegram”: “https://t.me.otoplo”
},
“icon”: “https://i.imgur.com/ZEK11eX.png”
}
]
With Signature
[
{
“ticker”: “ANT”,
“name”: “Anontest”,
“summary”: “This is a test of tokenex”,
“description”: “This is the description of the example token for minting a token on tokenex.”,
“creator”: “Otoplo”,
“contact”: {
“telegram”: “https://t.me.otoplo”
},
“icon”: “https://i.imgur.com/ZEK11eX.png”
},“IItFOwtMXcswvluXaLLz+MAVKET/zakaPA/A0NLsJK8KCie5JOmfZlJfnlwbWMEFzLZAwfh13a1AVOqRT4AYV3M=”
]
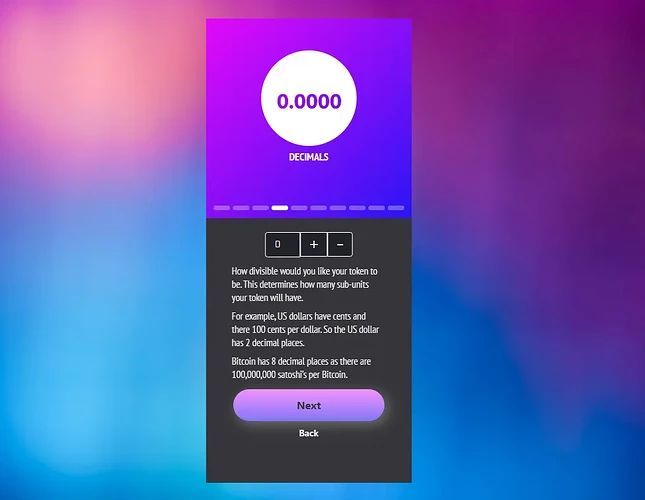
Decimals of your token
- How divisible would you like your token to be? This determines how many sub-units your token will have.
- For example, US dollars have cents and there 100 cents per dollar. So the US dollar has 2 decimal places.
- Bitcoin has 8 decimal places as there are 100,000,000 satoshi’s per 1 Bitcoin.
Be sure to choose the appropriate sub-units for your token to best serve the clients using your protocol.
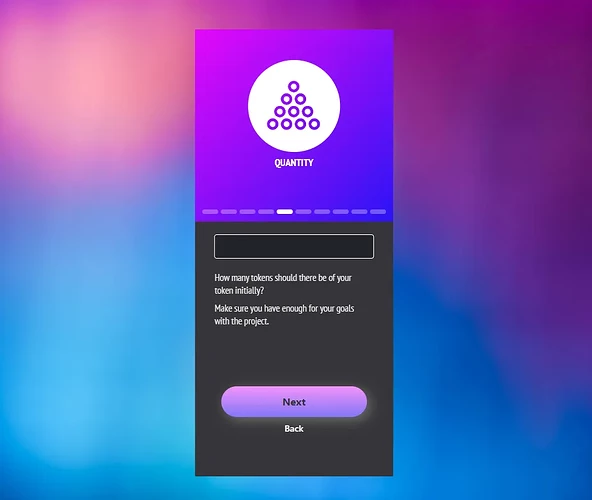
Supply of your tokens
In very simple terms, this means how much supply your projects needs to have. How many tokens should there be of your token initially? Make sure you have enough for your goals with the project!
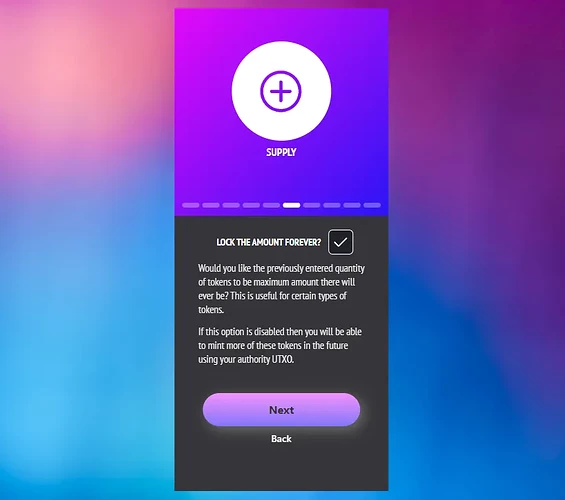
Max supply hard cap or minting
Would you like the previously entered quantity of tokens to be maximum amount there will ever be? This is useful for certain types of tokens. In simple terms this would be your max supply.
If this option is disabled then you will be able to mint more of these tokens in the future using your authority UTXO.
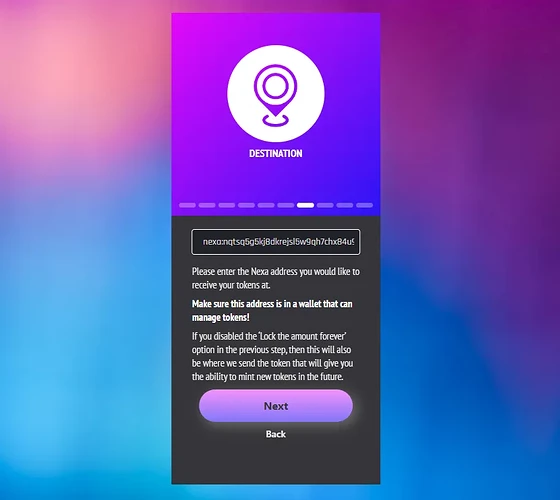
Receive address for tokens
Please enter here the Nexa address you would like to receive your tokens at.
Ensure that this address is in a wallet capable of managing tokens. For now, we recommend using Wally Wallet until the fully-fledged Tokenize app is released in the not-too-distant future or the Otoplo wallet integrates token functionality.
If you disabled the ‘Lock the amount forever’ option in the previous step, then this will also be where we send the authority that will give you the ability to mint new tokens in the future.
Might your project need fundraising with unlock schedules, or dev locks, you for now could use the Otoplo HODL Vault feature or implement smart-contracts via future versions of NexScript for tokens.
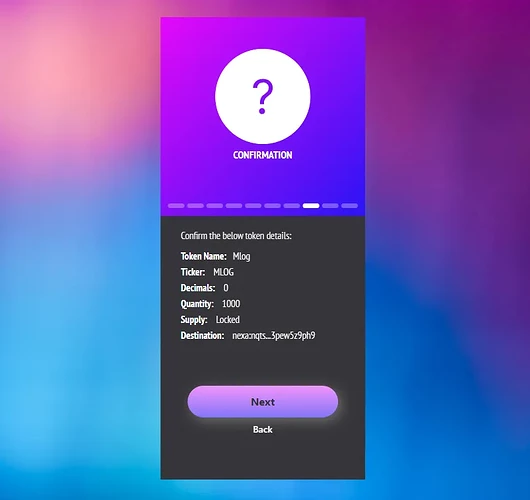
Confirmation
On this page, you’ll find all the details you’ve previously submitted in the tool concerning your token. Please double- or triple-check to ensure all the provided information is accurate, as it cannot be changed later.
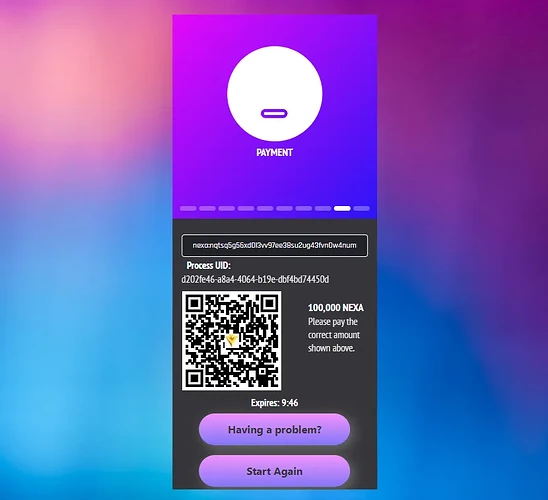
Payment to launch your token
Here, you can make the payment to launch your token. Be sure to enter the correct address and the appropriate amount of NEX. You have a 10-minute timeframe to complete this.
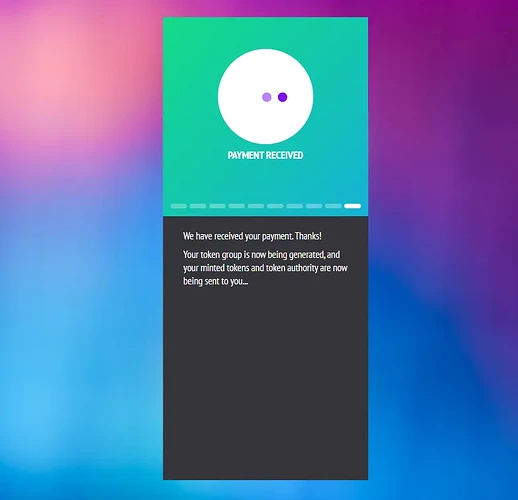
Payment Received
Voilà, your tokens are being minted and sent to your receiving wallet! We hope this article helps you get acquainted with the tool. If there’s anything that isn’t working or if you encounter complications, make sure to reach out to us in the Nexa Telegram chat: Telegram: Contact @nexacoin.
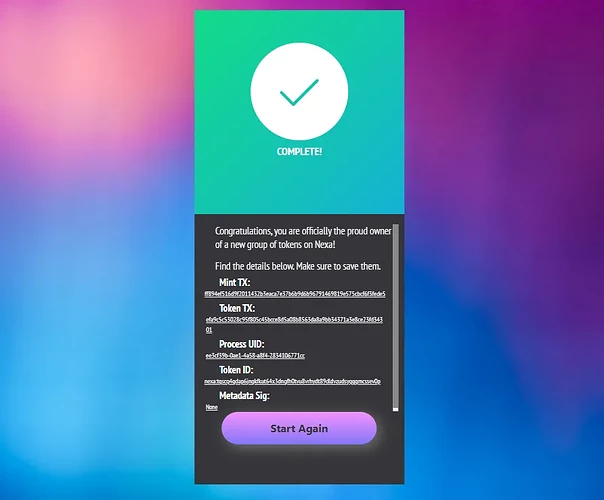
Complete!
Congratulations, you are officially the proud owner of a new group of tokens on Nexa!
Make sure to save the details shown here as Mint TX, Token TX, Process UID, Token ID, Metadata SIG (if applicable).
You’ve now received your tokens, how to send them?
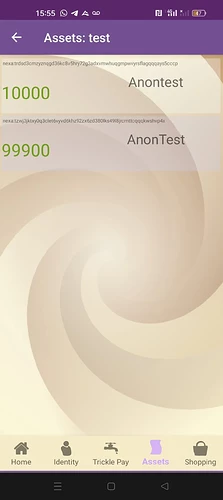
If you go to your wally wallet app and go to the ‘Assets’ tab you should now see your newly minted tokens.
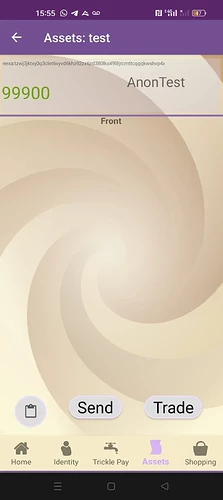
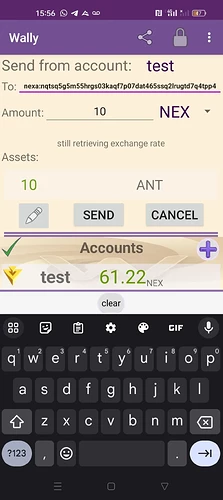
You then need to select the asset you want to send. Then you need to tap ‘Send’.
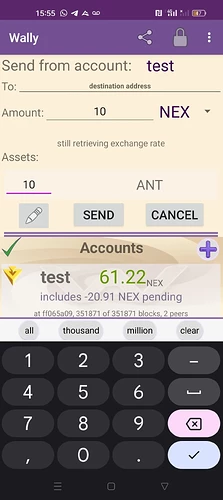
Now go back to the ‘Home’ tab and you should see that you are about to send your asset. You can increase the quantity you want to send up to the total amount you have in your wallet.
Before you can send your tokens you need to add a destination address, which is a normal Nexa address and you need to include some NEXA in the ‘Amount’ field. We recommend using 10 NEXA here. If you don’t have any NEXA in your wallet you will need to send some there first before you can send your tokens.
Now all you need to do is tap ‘Send’ (and enter your PIN if you have one) and your tokens will be on their way to their new owner!
In conclusion:
Nexa unique feature for Tokenisation will bring substantial value to the Nexa ecosystem. It’s solves the many limitations Layer-1s experience such as Ethereum. Lead Developer Andrew Stone is the mastermind behind this code. It is just one of the special features Nexa facilitates for developers and businesses. All this whilst being extremely cheap to interact with.
The fully-fledged Nexa Tokenize desktop app is set to launch in the not-too-distant future. While we haven’t set a specific deadline yet, the app is generally functional but requires some fine-tuning and bug-fixing before its official release. Please stay tuned for updates on our official channels.
A big shout out to both Otoplo and Bitcoin Unlimited for making this possible.
Original article on Medium: Tokenex tool for launching tokens! | by Nexa: Seamless scalability, endless opportunities. | Medium
