The Tokenize desktop app is a fully non-custodial app which means that there is no back-end and all data is fully stored on your computer without 3rd parties having access to this making it 100% in your control.
But first, let’s briefly recap what tokens are in general and why they benefit the Nexa ecosystem. After that, we are going to guide you through the app and we’ll discuss how easy it is to launch your project on top of the Nexa blockchain.
We strongly believe this is the infrastructure needed to create an ecosystem flourishing with token gems.
Background: What is a token?
A token is a representation of an asset on a native cryptocurrency blockchain that has been given certain semantics or usage cases, whether trivial or of high substance. Their usage cases are broad in the world of cryptocurrency and can be utilized for various means such as stable coins (such as USDT and USDC), NFTs, ticketing, and as native currencies of dApps and other DeFi ecosystems.
Native Tokens:
Tokens are a market-validated use case for cryptocurrency which will bring significant amounts of value and network effects to Nexa. This is why Nexa offers token functionality natively without any need for special smart-contracts or token standards like ERC-20. But if you need the full power of smart-contracts for your token, you have that too.
Tokens on Nexa get the 1st class treatment. Creating and managing tokens is done just like sending NEX without any need for special smart-contracts. Your new project can create a token on Nexa within a few seconds, lightsaber fast. But of course if your projects needs this, your token will have full access to the smart-contract capabilities of Nexa.
Token Group and Subgroups:
Tokens can have subgroups added to each token group that is created. This allows token creators to add unique properties to many subgroups within each group. In a practical usage examples with NFTs, these subgroups allows the holder of an NFT to directly download the NFT data.
This is in contrast to an Ethereum NFT in which the NFT is linked to the smart contract via a URL (that potentially could be broken). With NFTs on Nexa, it would be impossible for NFT data to be changed, as its already on the blockchain.
Tokenize app:
To provide everyone with a clear understanding of how the Tokenize tool works, you’ll find a step-by-step guide below. First, you’ll have to download the latest versions of the Tokenize app from here.
For MacOS you can simply download the .dmg file. For windows you can download a zipped file or an exe file. For the zip file you should extract to a preferred folder on your computer. Please note that the Windows built-in unzip tool may not always work as expected; we recommend using winRAR for the best experience.
Once you have extracted the files, proceed by installing the tool. Simply click on the following extension shown below.

Once launched, you will see below
welcome screen.

Here, you have several common options:
- Restore Wallet: Use this option if you already have a wallet and want to import it. For example, if you have an Otoplo wallet, you can easily integrate it here by entering your seed phrase.
- Open Wallet: If you’ve already integrated a wallet into the app, this option will prompt you to enter your password to access your wallet.
- Create Wallet: This option allows you to create a new wallet for launching your project. Always ensure you write down the seed phrase and store it securely.
Now, let’s explore the restore and create wallet options below.
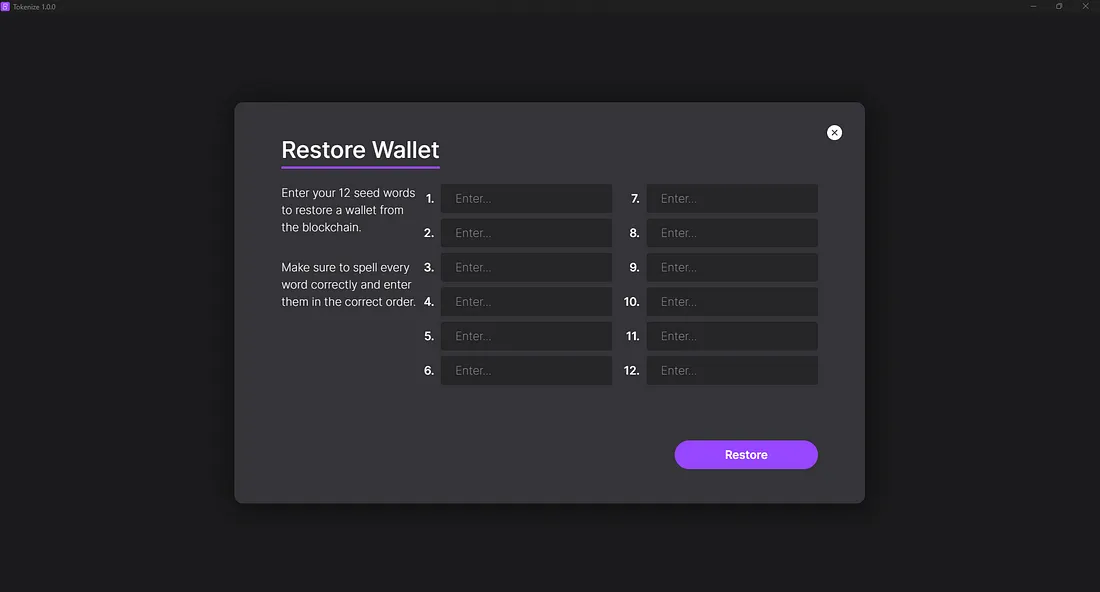
Restore wallet:
Use the ‘Restore Wallet’ option when you already have a wallet, such as one created in the Otoplo app. It will prompt you to enter your 12 seed words to restore the wallet from the blockchain. Ensure that you spell every word correctly and enter them in the correct order.
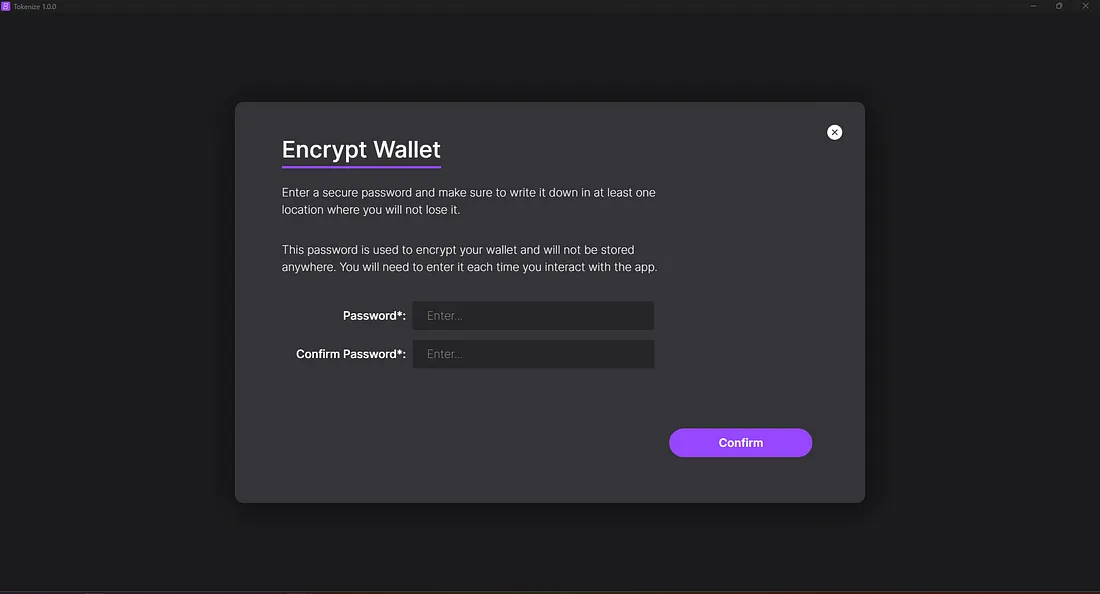
After entering your seed phrase, you’ll be asked to set up a password for the app. This password is used to encrypt your wallet and will not be stored anywhere. You’ll need to enter it each time you interact with the app.
Please note that your password must meet the following criteria:
At least 8 characters long,
Contains numbers,
Have one special character.
Create wallet:
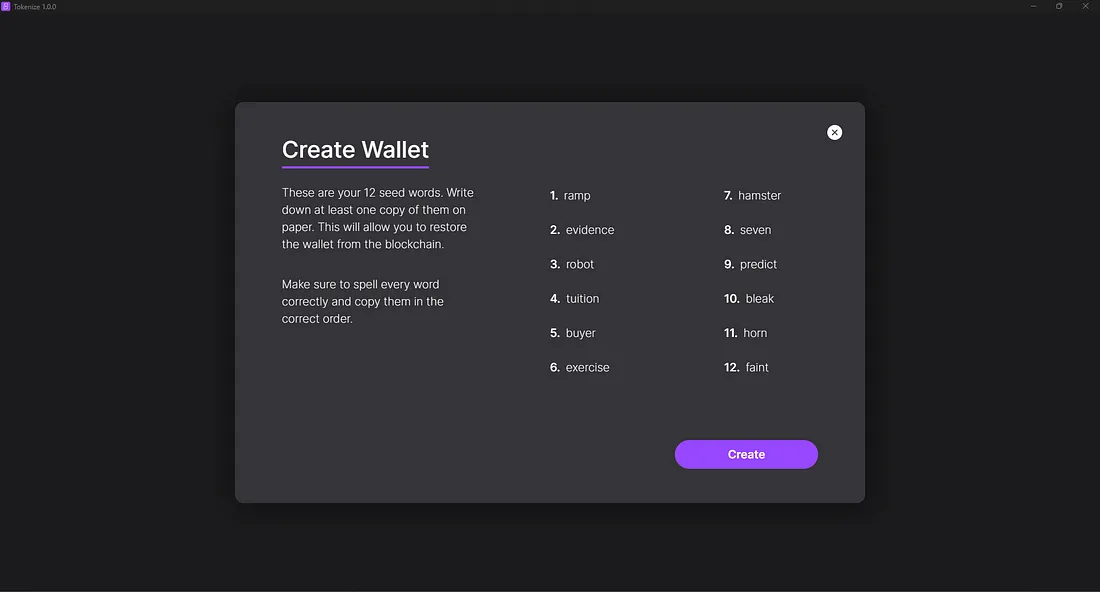
When creating a new wallet, you’ll encounter a familiar interface similar to the one commonly used for wallet creation. It will provide you with 12 seed words that you must write down and store in a safe place. It’s advisable to keep at least one physical copy on paper.
This seed phrase is crucial as it enables you to restore the wallet from the blockchain. Therefore, ensure that you spell every word correctly and record them in the correct order.
On the next page, you will be asked to fill out every second word of your seed phrase.
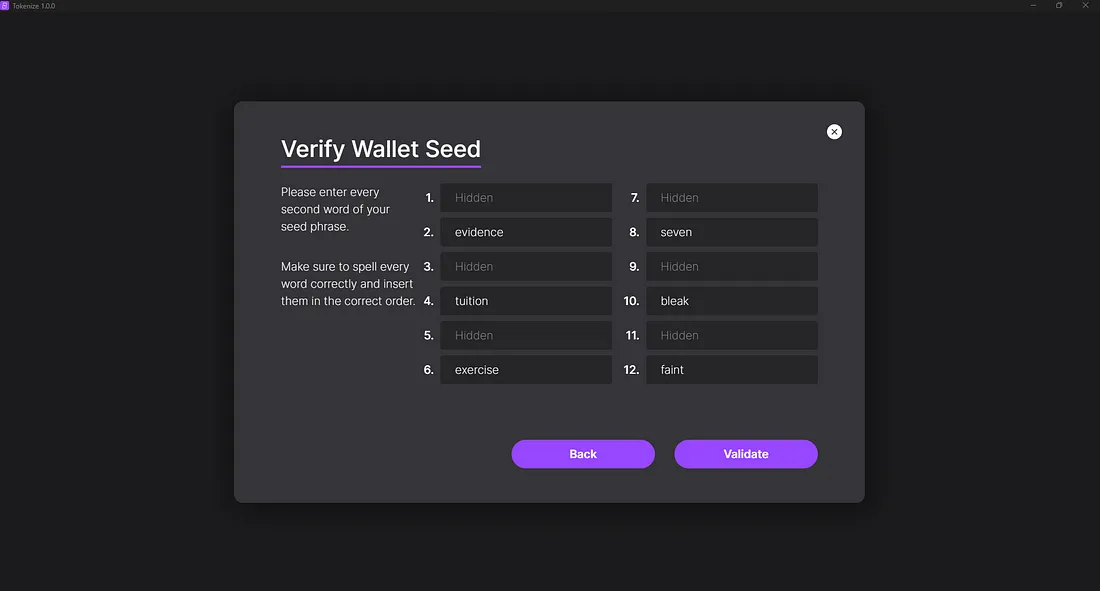
Press validate to continue after filling out the correct words. Here you will be asked (just as above during the restore wallet steps) to create a password that will encrypt your wallet.
Please note that your password must meet the following criteria:
At least 8 characters long,
Contains numbers,
Have one special character.
Voila, you’re now in the Tokenize app!
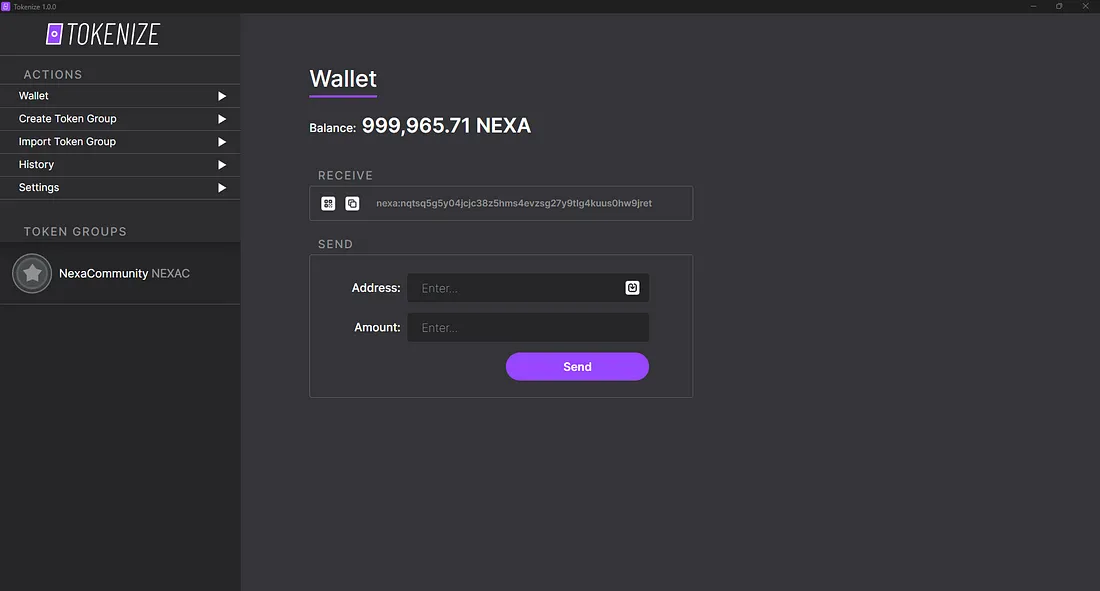
This is the home overview of the Tokenize app. On the left-side navigation menu, you’ll find several options:
Wallet: By default, this app opens here. This is where you can easily interact with the coins and tokens in your wallet, check your balance, and find your receive address.
If you want to work with a QR code, click the left icon next to your address as shown below, while the right icon allows you to copy the address.

Create Token Group
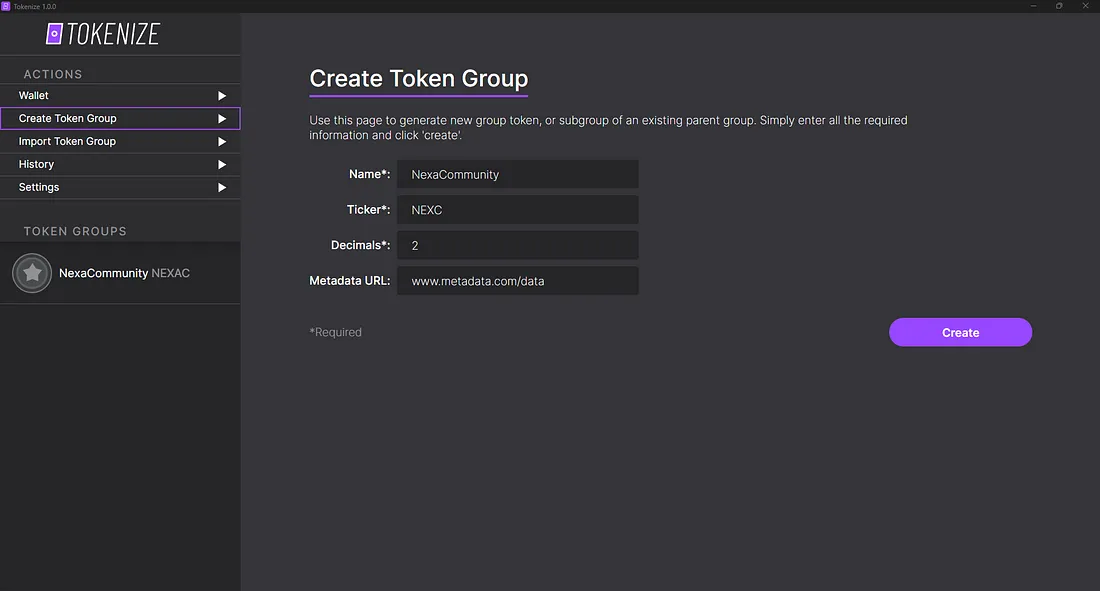
Create Token Group; this is where you need to provide key information about the token you’re launching. This includes:
- Token name,
- Ticker symbol of the token,
- Number of decimals the token uses (e.g., if you want your token to be divisible by 100, you would fill out ‘2’). This determines how many sub-units your token will have.
Additionally, you can provide a Metadata URL. Note that Metadata is not stored on-chain but rather the ‘hash’ of the metadeta is. For example, if you want to have an icon for your token you will need to include this in the metadata document.
Please find more information about Metadata and how to store and use it, in our previous article for the Tokenex tool: Nexa Online Tokenex tool for tokens
After everything is set up, simply click ‘Create.’ You’ll be prompted to enter your password and pay a small fee to create the group.
Token group overview:

Here, you’ll discover a wealth of information about your token, including its name and ticker symbol, as well as the Nexa ID used on the blockchain. You’ll need to share this Nexa ID with your users to enable them to add the token to their wallet using the ‘Import Token Group’ feature.
For more specific details on permissions such as Authorize, Mint, Melt, etc., please refer to the video below.
Permissions:

Simply put in short words:
- Authorise : Generate new authority, for example, give authority to another person/users — for instance developers working on your project.
- Mint : Minting tokens is available in case you’d have to increase your supply.
- Melt : Melting tokens is available in case you’d have to decrease your supply.
- Rescript (to be released)
- Subgroup: A subgroup is a child group of an existing group, for instance NFTs.
Import token group:
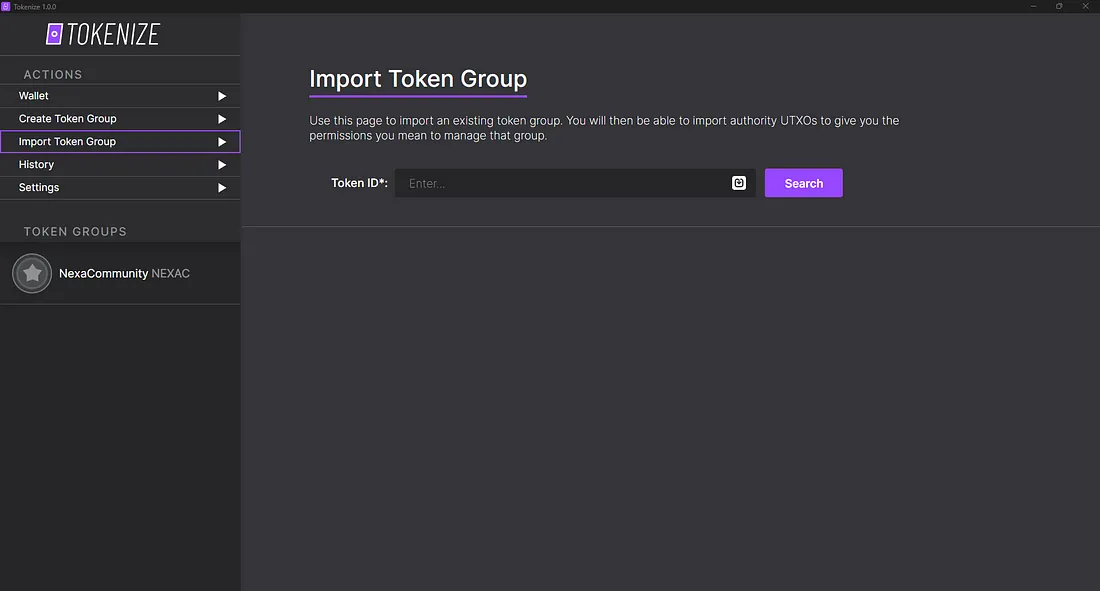
On the ‘Import Token Group’ page, you can manually add a new token. Think of this as similar to the ‘Add Token’ functionality in MetaMask. When you receive a specific token or NFT, you should enter the Token Group ID into this section and click ‘Search.’
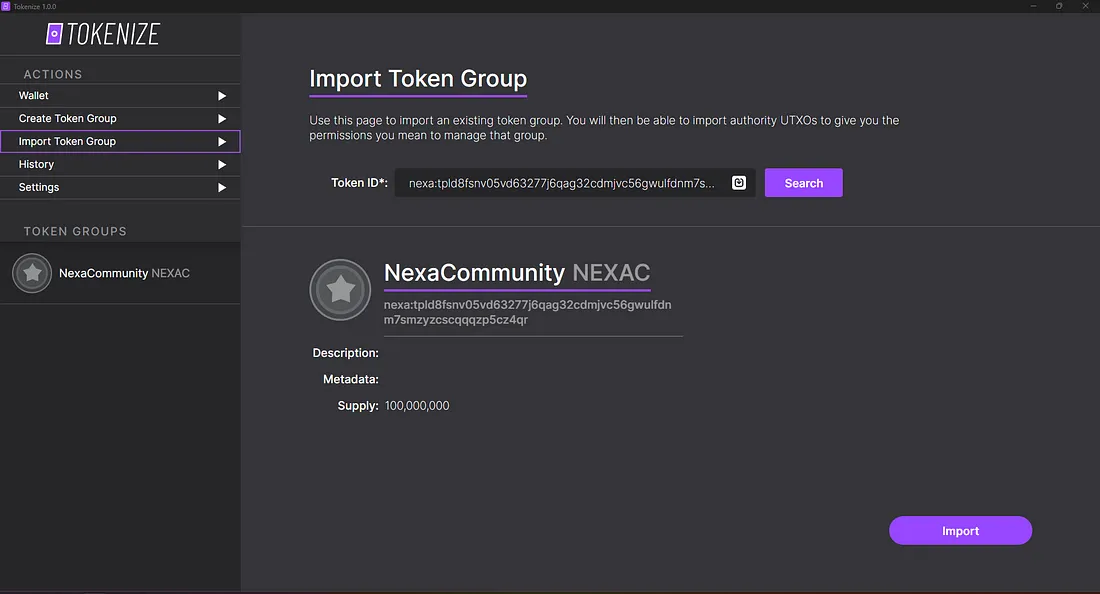
Here’s an example of a found token ID. We’ve used the NexaCommunity token as an example, and it will provide you with the following results. If they are correct, you can then import the token by clicking the ‘Import’ button.
History:
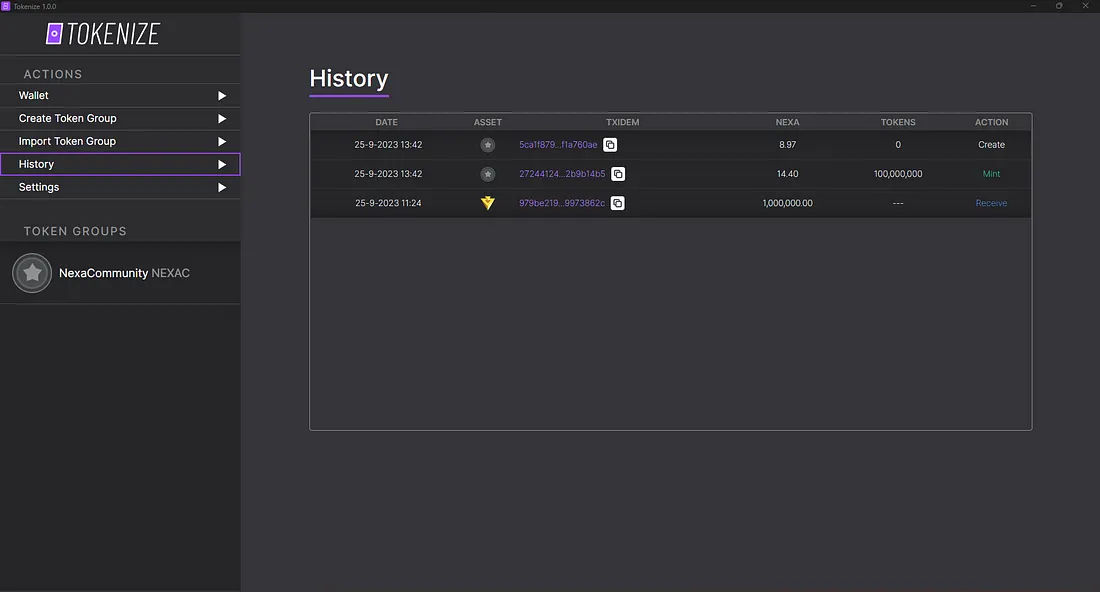
This page displays the transaction history of all the transfers you’ve sent and received in your wallet. It’s relatively straightforward and self-explanatory.
Here, you can find details such as the transaction date, which respective asset, the TXID (Transaction ID), the transaction amount, and more. Additionally, you’ll see the amount of fees spent on the transaction and the specific transaction type, which could include minting tokens, creating a group, normal send/receive, and more.
A little extra feature is that if there are any tokens you have access to but haven’t imported into your wallet yet, the transactions for them will be shown in your transaction history. You can click on the token icon for any tokens you haven’t imported yet and this will automatically add the token ID in the ‘Import Token Group’ page.
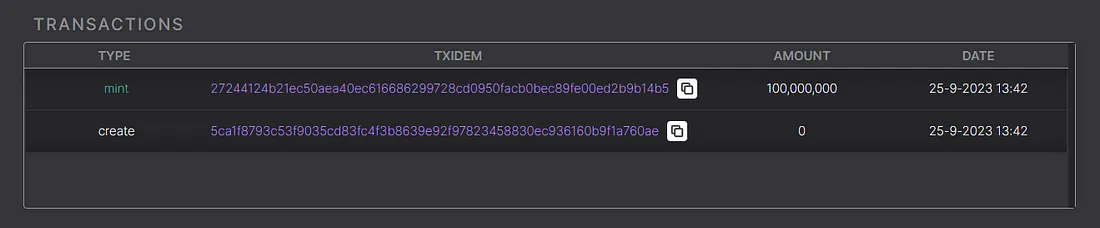
Below, you can find the most recent transactions made in your general Token Group overview. Essentially, what you see here is also available in the history tab.
A digital world of Nexa tokens to be created. A digital global economy for all.
In conclusion:
Nexa unique feature for Tokenisation will bring substantial value to the Nexa ecosystem. It’s solves the many limitations Layer-1s experience such as Ethereum. Lead Developer Andrew Stone is the mastermind behind this code. It is just one of the special features Nexa facilitates for developers and businesses. All this whilst being extremely cheap to interact with.
Obviously, a very big shout-out to Otoplo for smashing this tool out the park! We are super excited to see the usage and projects launching on top of the Nexa blockchain.
Original article on Medium: Nexa Tokenize app by Otoplo. The Tokenize application | by Nexa: Seamless scalability, endless opportunities. | Medium